Setup
How to use reMarkable Paper Pro from unbox to first page
The how to use reMarkable Paper Pro question splits cleanly into one-time setup and daily workflow. Setup takes about forty minutes and never needs to happen again; daily workflow is what determines whether the device sits on your desk or in a drawer by week three. The setup steps are the same five every reMarkable shares: charge, pair, update, set a template, decide on Connect. The Paper Pro adds one extra consideration on top of the rM2 setup, which is whether and how you’ll use the colour layer.
Step one is charging. Plug the Paper Pro in and let it reach 100% while you set up everything else. Step two is the reMarkable mobile app (iOS or Android) for pairing. Step three is firmware: the Paper Pro will likely want to update; let it finish before changing settings. Step four is the first template choice; the default Paper Pro templates are usable but generic, and your daily workflow will benefit from picking one custom template that matches how you actually plan. Step five is the Connect decision, which can wait a week.
Templates
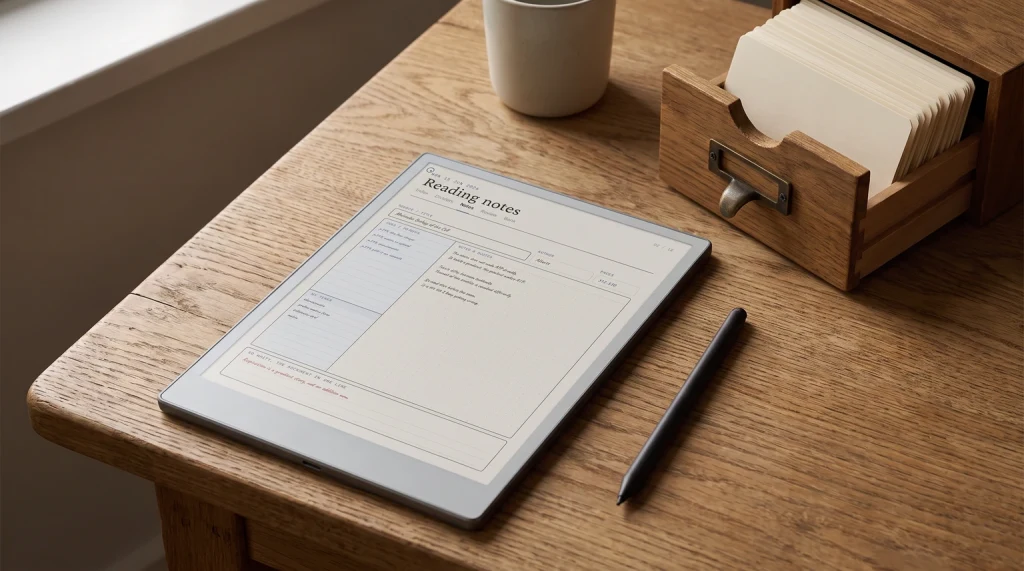
How to use reMarkable Paper Pro templates worth the setup
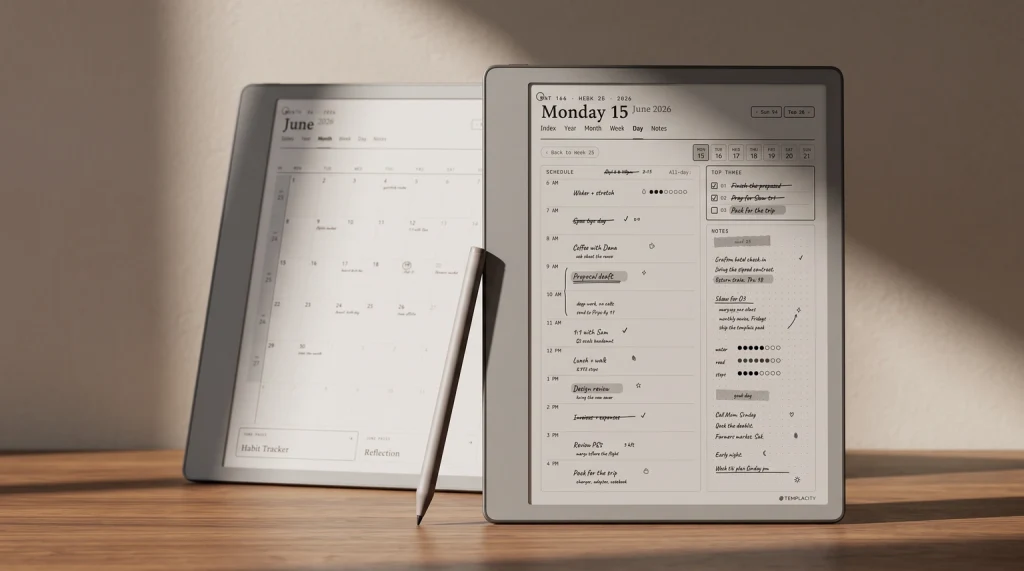
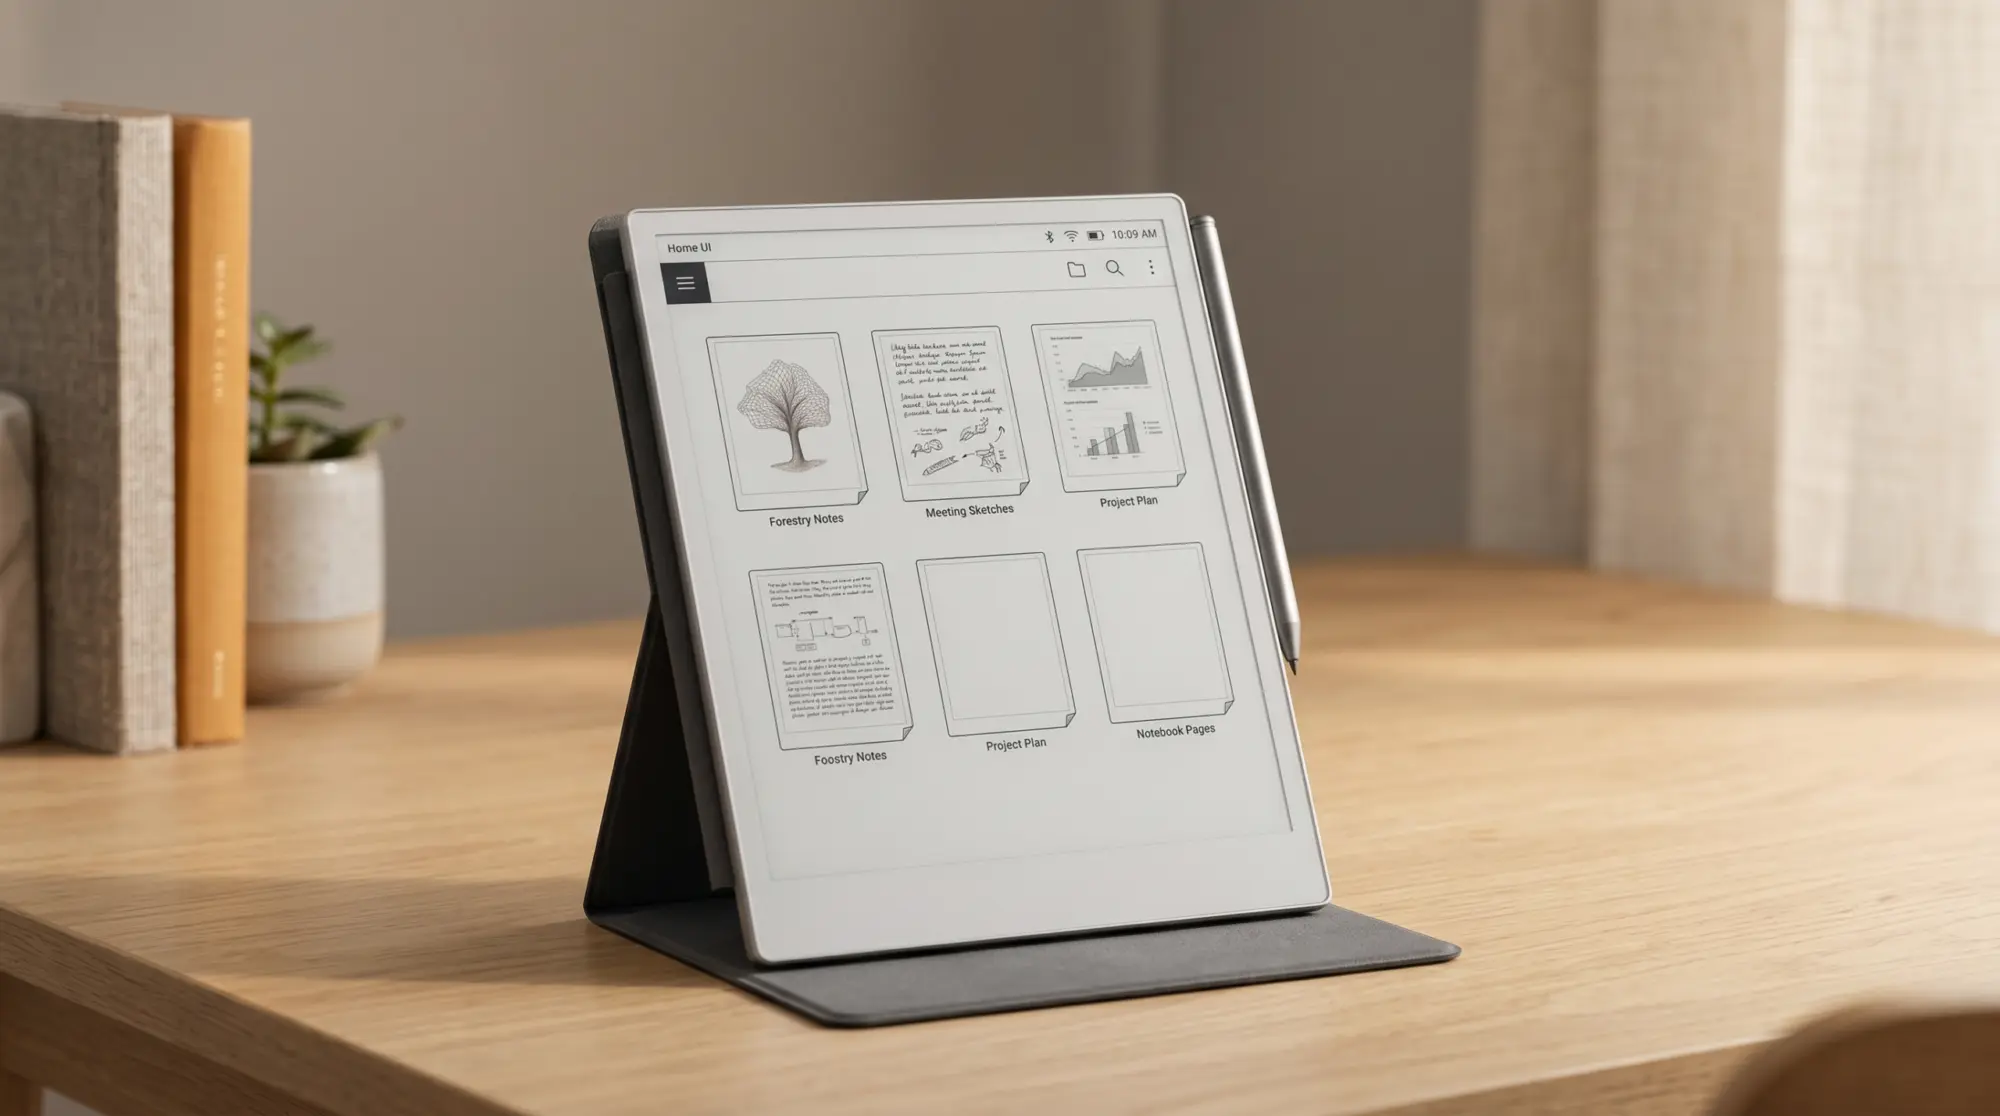
The Paper Pro ships with the same default template set as the rM2 plus a couple of Paper Pro-specific options. They are usable but generic. The workflow that sticks past week three almost always involves picking a custom template that matches how you actually plan, then sizing it correctly for the Paper Pro’s 1620 x 2160 native resolution. Templates designed at A4 or US Letter proportions render with a small margin, which most users prefer; templates designed at the rM2 size (1404 x 1872) are the same 3:4 shape and still fill the panel, upscaled by about 15 percent, so the only cost is a little softness in fine line work.
Two install paths cover the work. PDF templates drop into the reMarkable mobile or desktop app and sync as notebooks, ready to write on. PNG templates install as page backgrounds (via the template installer or RCU) so every new notebook page uses your template automatically. PDFs are friction-free; PNGs are the path for users who want a daily planner as their default page background. Our Paper Pro templates roundup covers the layouts that work well at the wider panel size.
Colour
How to use reMarkable Paper Pro’s colour layer well
The Paper Pro’s Canvas Color panel renders mono and colour content alike at the panel’s full 229 PPI, because there is no colour filter dividing the resolution. The practical implication: use colour for highlights, dividers, and category tags where the colour carries meaning, not for decoration on planner backgrounds where it would just soften the mono text underneath. The colour Marker tip works for the nine writing colours reMarkable ships and the highlighter modes give you broad-stroke colour without affecting the underlying text strokes.
The patterns that earn the colour layer: a priorities band where each priority gets a colour, section dividers between project areas, mood or energy tracking on a daily planner, colour-coded category tags on meeting notes. The patterns that waste it: pre-printed colour template backgrounds, decorative coloured text that could have been mono, full-page colour fills that refresh slowly and add nothing. Pick the patterns that turn colour into information; ignore the ones that turn colour into noise.
Use the Paper Pro’s colour layer for information, not decoration. The patterns that stick turn colour into a category system; the patterns that fail turn colour into a screen-saver flourish.Colour section
Habit
How to use reMarkable Paper Pro past the novelty
The third-week dropout pattern is the biggest risk with the Paper Pro the same way it is with the rM2. The Canvas Color panel is exciting on day one and the question by week three becomes whether the device actually serves your work or just sits on the desk. Two patterns help. First, pick one role the Paper Pro is the best tool for (long meeting notes, PDF markup, dashboard daily planner, journal) and commit to it instead of trying to make the device your whole productivity stack. Second, leave the device visible at your desk or in a bag pocket so the friction to pick it up is near zero.
If you’ve used the Paper Pro for six months or more, drop your setup pattern in the comments. The day-one impressions of a colour e-ink tablet differ sharply from the patterns that hold up after a year. The settings, templates, and colour-use patterns that survive long-term tend to be the parts worth comparing across owners.
FAQ
Common questions, answered briefly
How do you set up a reMarkable Paper Pro?
Can you use the Paper Pro left-handed?
Do you need Connect to use a reMarkable Paper Pro?
How do you use the Paper Pro’s colour layer well?
What templates work best on Paper Pro?
Is the Paper Pro worth it over the rM2?
If yours isn’t above, drop the question in the comments and we’ll fold it in next refresh.
People also ask
Other questions, briefly answered
What templates work best on the Paper Pro?
How does the template installer work?
Where can I get free reMarkable templates?
Doc
reMarkable: official help centre (setup, firmware, Connect)
remarkable.com/help
OEM Spec
reMarkable: Paper Pro product page (display, resolution, Marker)
remarkable.com/store/remarkable-paper/pro