Frame
What “how to use reMarkable Paper Pro Move” requires in 2026
The reMarkable Paper Pro Move is the 7.3-inch portable color e-ink writing tablet, launched in 2025 as the smaller sibling of the 11.8-inch Paper Pro. Setting it up takes about fifteen minutes; using it well requires understanding what the smaller panel does and does not do. The 7.3-inch screen is excellent for handwritten capture, comfortable for reflowable ebook reading, and tight for full A4 PDFs. The setup steps below position the device for the workflows it fits.
One framing note: how to use reMarkable Paper Pro Move differs meaningfully from how to use the larger Paper Pro. The same software runs on both, but the gestures, template choices, and workflow defaults that make sense at 11.8 inches do not always translate to 7.3 inches. Treat this guide as Move-specific, not as a smaller version of the Paper Pro setup.
Step 1
Step 1: Pair the Paper Pro Move with a Connect account
Out of the box, the Paper Pro Move walks through pairing: connect to wifi, sign in to a reMarkable Connect account or create one, and choose between the free tier and paid Connect. The free tier covers on-device note-taking, basic web sync, and on-device Convert to Text; Connect ($3.99 a month after a 50-day free trial) adds cloud sync to the mobile and desktop apps, handwriting conversion inside the desktop app, handwriting search, and unlimited cloud storage. For Move owners specifically, Connect makes the most sense if the Move is a companion to a primary device (Paper Pro at the desk, Move in the bag), so cross-device sync earns its keep.
If the Move is a standalone device or a paper-notebook replacement, the free tier covers the core workflow indefinitely, including on-device Convert to Text. Many Move users add Connect later only when the workflow demands cross-device sync, handwriting search, or desktop-app conversion.
Step 2
Step 2: Install templates sized for the 7.3-inch panel
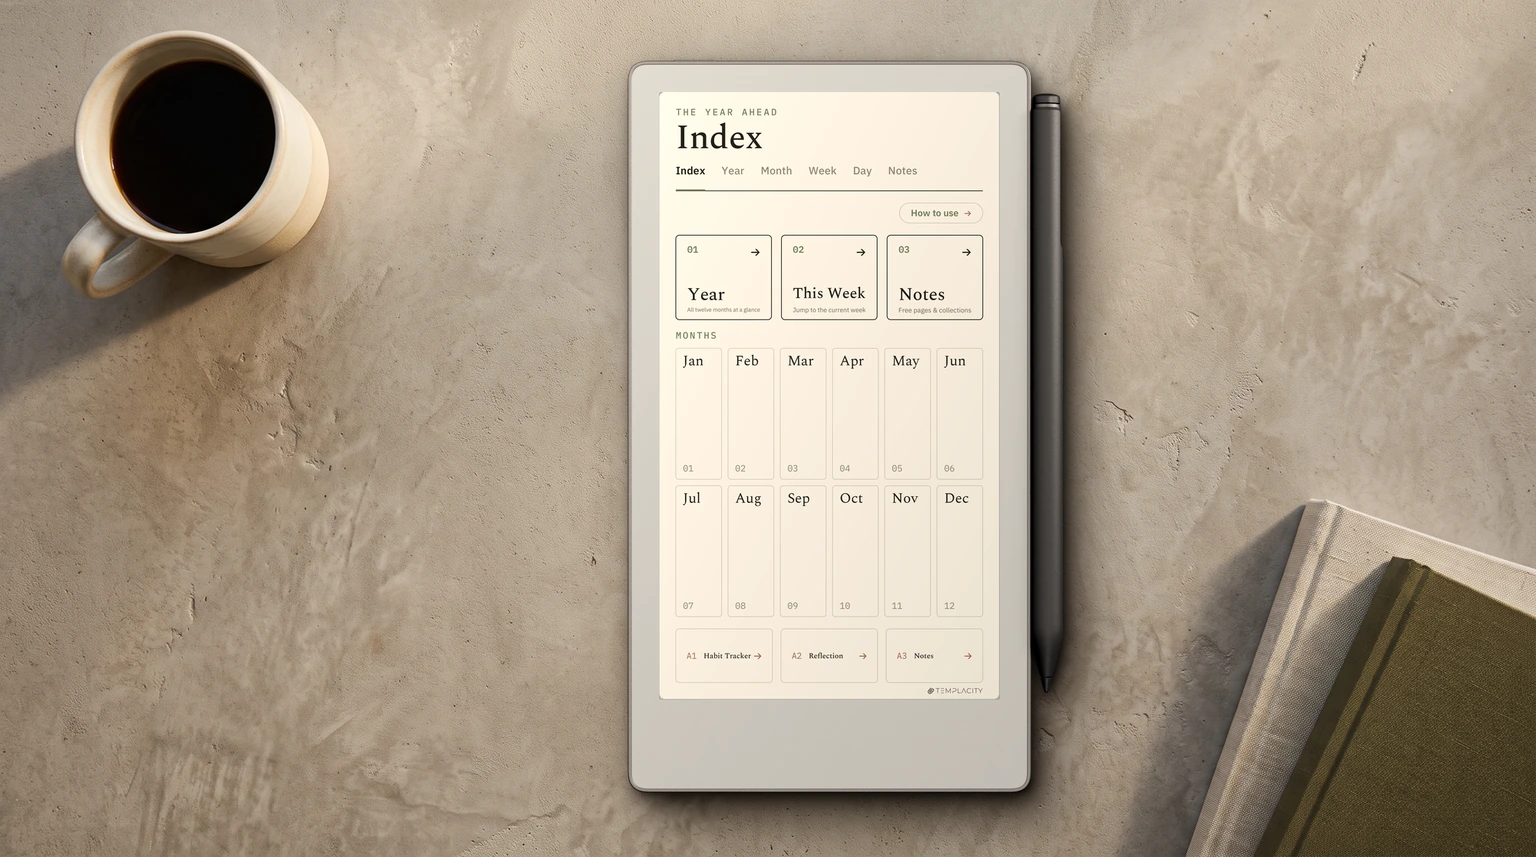
This is the single most important Paper Pro Move setup decision. Templates designed for the larger Paper Pro (1620 x 2160 pixels) load on the Move but rescale down, leaving wasted edges and tight handwriting room. Both devices are portrait; the Move is simply the much narrower page, 9:16 against the Paper Pro’s 3:4. Native Move templates at 954 x 1696 pixels fit the panel and use the writing space properly. Always confirm a template’s listed pixel size before installing on the Move.
For the first week, the built-in templates that ship on the Move cover most needs. After week one, install Move-specific layouts for whichever workflow you actually used: a Move-sized weekly planner, a meeting layout designed for the smaller screen, or a daily capture template. Our how to import templates to Paper Pro Move guide covers the install paths for Move-specific templates.
Step 3
Step 3: Create two core notebooks (not three)
For the larger Paper Pro, the recommended starting structure is three notebooks (Capture, Planner, Projects). For the Paper Pro Move, two is usually better: a Capture notebook and a Planner notebook. The Move’s smaller form factor and portable use case rarely surfaces project-tracking work; that lives on the desk where a larger panel handles it. Adding a Projects notebook on the Move usually creates an empty notebook that drifts unused.
Name them simply: “Capture” for everything that does not have a home yet, “Planner” for date-based work. Resist creating a Reading notebook unless your Move is specifically your reading device; ebook reading lives in Kindle or the Move’s PDF viewer rather than handwritten notebooks. Add structure later when use demands it.
Step 4
Step 4: How to use reMarkable Paper Pro Move gestures
| Gesture | Why it matters more on the Move |
|---|---|
| Tap top of page (1/4 from edge) | Top toolbar feels more cramped at 7.3 inches; this is faster |
| Two-finger tap to toggle eraser | Saves a tool-bar tap that takes more % of screen on the Move |
| Marker Plus stylus eraser | Most-overlooked feature, especially valuable on smaller screen |
| Pinch-to-zoom in PDF view | Compensates for the smaller panel on PDF reading |
The gestures themselves work the same as on the larger Paper Pro, but their value is higher on the Move because every saved tap matters more on a 7.3-inch screen. The Marker Plus stylus eraser (flip the pen and erase) is the single most-used gesture on Move-owner workflows we have seen; it removes the toolbar interaction that would otherwise eat screen space.
Step 5
Step 5: Settings that earn their place on the Move
Three settings make daily Move use noticeably better. Turn on the frontlight (Settings, General, Frontlight); the Move is more often used in less-than-ideal lighting because of its portable role. Turn on auto-suspend on cover close (Settings, Battery, Sleep on cover); a Move that does not sleep when the bag closes drains battery. Set the default writing tool to whatever you write with most often, so opening a fresh notebook does not require a tool selection every time.
One setting to leave alone for the first month: the toolbar customization. Resist the urge to rearrange tools before you know which ones you actually use. Move users frequently rearrange the toolbar to match a workflow they have not yet developed, then re-rearrange a month later when the real workflow surfaces. Defer the customization.
Bundle
Workflows
Workflows the Paper Pro Move actually does well
Three workflows make the Paper Pro Move pay back its price. First, portable capture: meeting notes, ideas during commutes, draft thinking that you write somewhere you cannot bring a laptop. Second, daily planning: morning planner reviews and evening reflections that benefit from a focused writing surface. Third, focused reading with margin notes: reflowable ebooks where the smaller panel is comfortable and the writing surface lets you mark up passages.
Workflows the Move does not do well: full-page A4 PDF annotation (the larger Paper Pro fits this), heavy long-form writing (the smaller panel slows it down), and side-by-side reference work (no room for two columns at 7.3 inches). Use the Move for what it is good at and use a different device for the others. Our Paper Pro Move review covers the long-form verdict on which workflows hold up.
FAQ
Common questions, answered briefly
How do you set up a reMarkable Paper Pro Move?
Do you need Connect to use the Paper Pro Move?
Are Paper Pro templates compatible with the Move?
How many notebooks should you start with on the Paper Pro Move?
Can the Paper Pro Move replace a paper notebook?
What workflows does the Paper Pro Move not handle well?
If you have lived with the Paper Pro Move for more than a month, drop the workflow that worked for you in the comments. Setup advice is plentiful; lived-in Move workflows are scarce, and they are what new owners actually need. If you landed here with a different model on the desk, start from the reMarkable guide instead and it will point you at the walkthrough for the one you own.