First
Before anything: check which OneNote you are running
Start here, because it costs thirty seconds and saves an evening. Microsoft has shipped several apps called OneNote, and one of them stopped working in any meaningful sense on 14 October 2025, when OneNote for Windows 10 reached end of support and moved into read-only mode. It still launches. Your notebooks still appear. You simply cannot create, edit or sync anything. A beginner working through a tutorial for OneNote inside that app will conclude they are doing it wrong, and they will be wrong about that.
| What you have | How to tell | What to do |
|---|---|---|
| OneNote (desktop) | Full Office ribbon across the top | Nothing, this is the right one |
| OneNote for Windows 10 | Slim flat toolbar, slide-out panel | Move off it, it is read-only |
| OneNote for the web | Runs in a browser tab | Fine, slightly fewer features |
| OneNote on Mac, iPad, Android | App on that device | Fine, no local notebooks |
The desktop app is free from the Microsoft Store, and OneNote is free on Mac, the web, iOS and Android too, so nothing here needs a subscription. Whichever you land on, the notebooks are the same notebooks. If you are on Windows and unsure, our guide to OneNote for Windows 11 walks through identifying and migrating; on other platforms, start with OneNote for Mac, OneNote for iPad or OneNote for Android.
Step 1
Step 1: build the structure before you write anything
OneNote has three levels and they map onto a ring binder exactly. A notebook is the binder. Sections are the tabbed dividers. Pages are the sheets. That is the whole model, and it is the only thing you have to understand to use the app well, because every problem people have with OneNote later traces back to skipping this and typing into whatever page opened first.
Make two notebooks, not ten. One for work and one for everything else is enough for most people, and the temptation to build a notebook per project is the first mistake, because notebooks are expensive to navigate and sections are cheap. Inside the work notebook, create four or five sections that match how your week is actually divided, not how you wish it were: something like Meetings, Projects, Reference and Admin. Resist naming a section after a system you intend to adopt. Name them after things you already do.
The test for a good section list is whether you can put any note you make this week into exactly one of them without hesitating. If two sections compete for the same note, merge them. If you find yourself inventing a sixth section in week one, you probably needed it, so add it. Five minutes on this decision is worth more than any other five minutes in this tutorial for OneNote.
One decision to make now rather than later: whether any notebook needs to stay off the cloud. OneNote syncs through OneDrive and needs a Microsoft account, and Microsoft states that the Windows desktop app is the only version supporting local notebook storage on your own hard drive. If a workplace rule forbids putting notes in consumer cloud storage, that constraint decides your setup before anything else does, and it is far cheaper to know it in week one than after you have moved a year of notes.
Step 2
Step 2: the four page types worth having
Every tutorial for OneNote gets to page types eventually, usually as a gallery of things you could make. Treat it instead as a restriction you impose on yourself. Most notebooks fail because every page is a different shape. Fix that by deciding, once, that you only make four kinds of page. A meeting page: date, who was there, what was decided, what happens next, who owns it. A project page: the brief at the top, a running log underneath, open questions at the bottom. A reference page: one topic, whatever you have collected about it. A daily page: today’s list and anything that came up.
The point of restricting yourself to four is not neatness, it is retrieval. When every meeting page has decisions in the same place, you can scan a year of them in a couple of minutes. When they are all shaped differently, you have to read each one, which means you never do. This is also the step where OneNote quietly beats a document folder, because pages inside sections stay browsable in a way that thirty files named after dates never are.
Step 3
Step 3: make it findable
The step most people skip in any tutorial for OneNote is this one, because it produces nothing visible on the day you do it. A notebook you cannot search is a diary. Microsoft’s search covers your notes and files by typing a keyword or phrase, and it reaches further than most people expect: handwritten notes are searchable too, so writing by hand on a tablet does not put the content beyond reach. That single fact changes how you should take notes, because it means you can write messily and still find things.
Two habits make search work properly. First, put a real title on every page, because the title is what appears in results and “Untitled page” tells you nothing. Second, use consistent words for recurring things: if a client is sometimes “Acme” and sometimes “Acme Corp” and sometimes “the Acme account”, searching for any one of them misses two thirds of your notes. Pick a form and stick to it. Tags are worth adding on top of that once the basics hold, but they are a refinement, not a foundation, and plenty of people run good notebooks without them.
It is worth being clear about what search will not do, because the limits shape how you write. It matches words, so a page you titled with a code number will only surface if you remember the number. It cannot infer that “the pricing conversation” and “the discount call” were the same meeting. And it works within what you have synced, so a local notebook on a Windows PC is invisible to a search you run on your phone. None of these are faults, but each one is an argument for plain, boring, repeated language in titles.
Step 4
Step 4: capture from wherever you are
No tutorial for OneNote can help with a note that was never written. Notes you do not take are the biggest loss, and they are almost always lost to friction. OneNote covers the main routes in. You can record and insert audio notes when a discussion outruns your typing. You can share web content, articles, images, videos and files into OneNote from other apps, so the thing you were reading lands on a page instead of in a browser tab you will close. And on both Android and iOS there are widgets for creating a new note, an audio note or a picture note without opening the app at all.
The picture route is the one most people underuse. A photograph of a whiteboard, a receipt or a page of a book goes straight into the right section, and because search reaches inside your notes rather than just their titles, it does not become a dead image. Our guide to the OneNote widget covers setting that up on both platforms in about a minute.
Step 5
Step 5: stop starting from blank
If you take one thing from this tutorial for OneNote, take this step. It decides whether everything above survives. A blank page asks you to design the note and write it at the same time, and under any real workload the design half gets dropped. Templates remove that: the meeting page arrives with attendees, decisions and actions already on it, and all you do is fill in the gaps. It sounds trivial and it is the difference between a notebook that is still working in month six and one that is a graveyard of half-written pages.
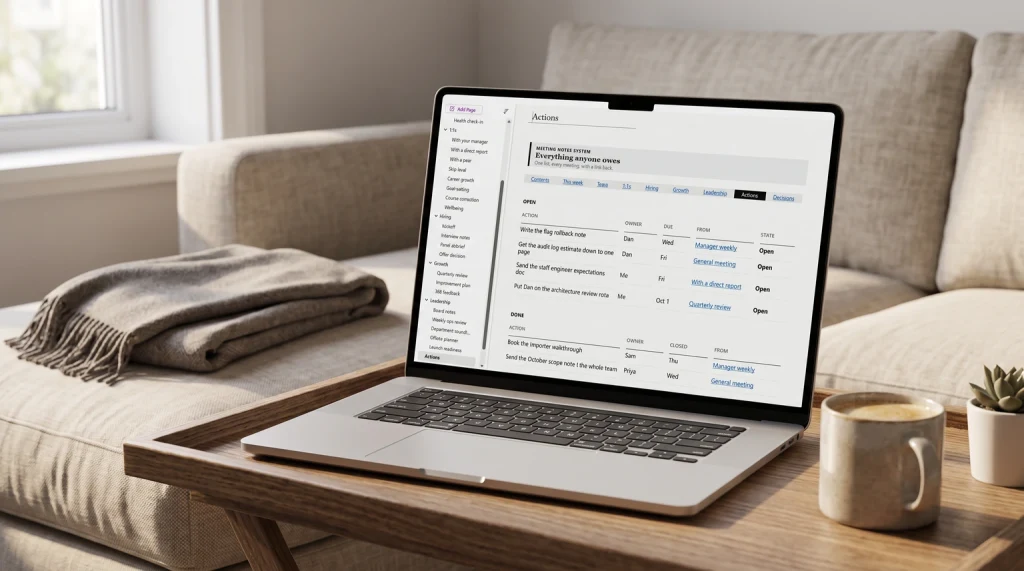
Build or install one template per page type from step 2, and set it as the default for the section it belongs to so new pages inherit it automatically. Our OneNote templates drop straight into the app, the meeting template covers the highest-volume page type, and a OneNote dashboard gives you one page to open each morning that links to everything else. Because notebooks sync, you set this up once and it follows you to every device.
The first month
Your first month, week by week
Doing all five steps on day one is the standard way to fail, because you end up with an elaborate system and no habit. Spread it out instead.
-
1
Week one: open it daily
Two notebooks, four or five sections, nothing else. Take notes badly. The only goal is opening the app daily.
-
2
Week two: titles and sections
Add titles to every page and fix the section list based on what actually happened rather than what you planned.
-
3
Week three: page types and capture
Introduce the four page types, and set up capture: the widget on your phone, and an Inbox section for it to land in.
-
4
Week four: templates
Add templates for the page types you have used most, and set section defaults so new pages inherit them.
-
5
Month two: the search test
Search for something from week one. If you find it in under thirty seconds, the system works. If not, the problem is titles or inconsistent naming, not the app.
That last check is the real test, and it is why this tutorial for OneNote is ordered the way it is. Everything before month two is investment; the search at the end is the return. If it fails, go back to step 3 rather than starting over, because starting over is how people end up with four abandoned notebooks and a belief that OneNote does not work for them.
Where it goes wrong
Where people abandon OneNote
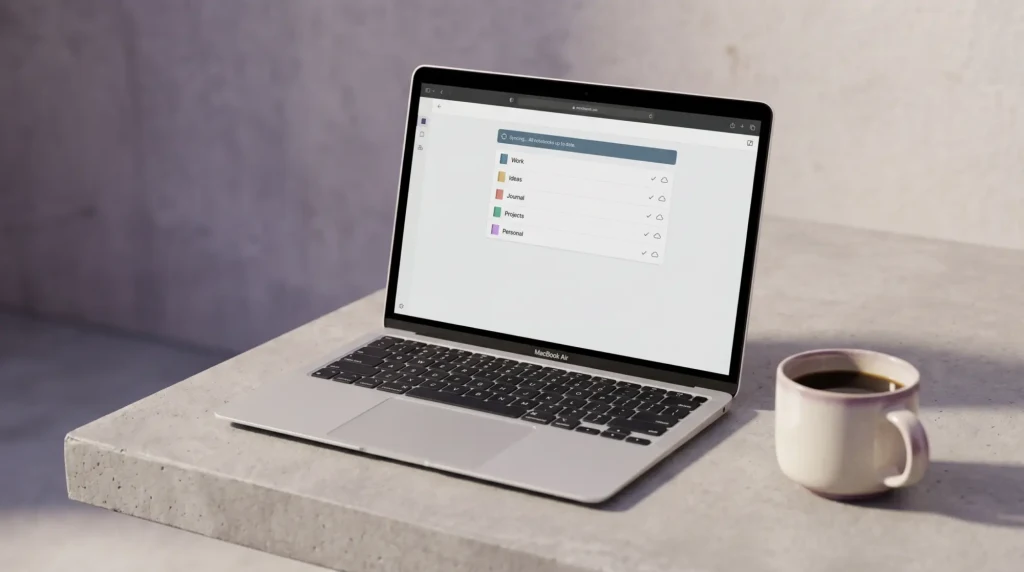
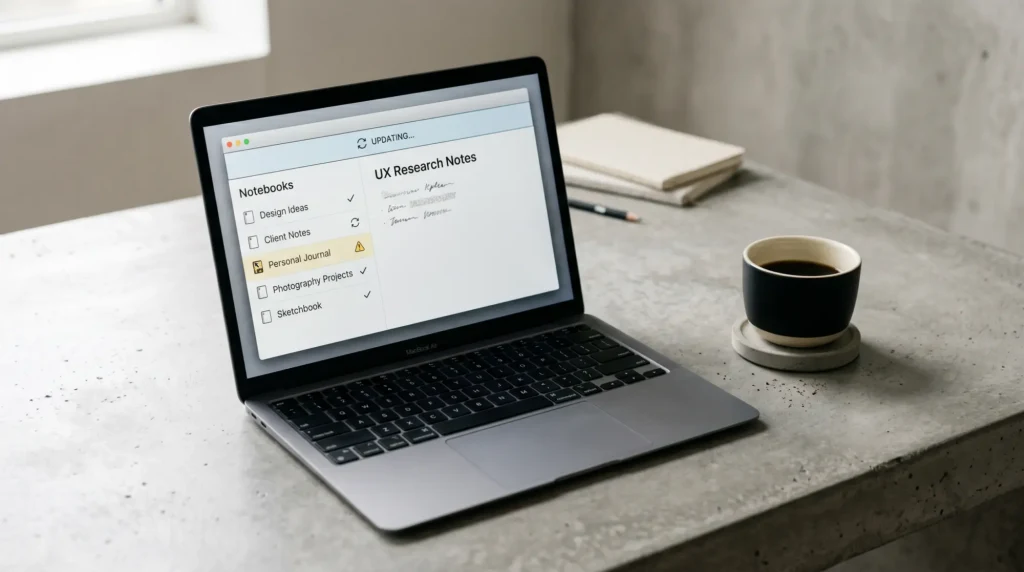
Three failure points account for most of it, and none of them are about features, which is why a tutorial for OneNote built around the toolbar never prevents any of them. The first is too many notebooks: a notebook per project feels organised and makes everything harder to find, because search and browsing both work best inside one place. The second is the blank page problem from step 5, which shows up as a notebook full of pages with three words on them. The third is sync trouble that goes unnoticed, where notes stop reaching other devices and the notebook quietly stops being trustworthy. Our guide to OneNote synchronisation issues covers the causes; the important thing is to notice, because an untrusted notebook gets abandoned within weeks.
There is a fourth that is worth naming honestly, because no tutorial can fix it: some people do not need a structured notebook. If your notes are disposable and never referred back to, OneNote is more machinery than the job requires, and a flat notes app you never think about will serve you better. We set out which jobs it genuinely suits in what OneNote is used for.
Nobody abandons OneNote because they could not find the pen. They abandon it because the notebook had no shape.On why systems fail
Next
Where to go from here
If you are using OneNote for work, which is what most people searching for training for OneNote are doing, the highest-value next move is making the meeting page automatic, because it is the page type you will create most often and the one whose consistency pays back fastest. After that, put a dashboard at the front of the work notebook so there is a single page you open each morning. Those two changes do more for how to use OneNote effectively for work than any amount of further feature learning.
Everything in this tutorial for OneNote assumes you have already decided to use it. If you are still deciding whether OneNote is the right home for your notes at all, our comparison of the best note-taking app sets it against the alternatives without assuming the answer, and Evernote vs OneNote takes on the closest rival directly. And the OneNote hub collects the platform guides, template libraries and troubleshooting posts that go deeper on any single step above.
If you have worked through this and hit something we did not cover, tell us in the comments where you got stuck. The gaps people actually fall into are more useful than any tutorial outline, and they tell us what to write next.
FAQ
Common questions, answered briefly
Is there an official tutorial for OneNote?
How long does it take to learn OneNote?
How should I use OneNote for work?
Is OneNote free to learn and use?
Why do my OneNote notes not appear on my other devices?
If yours isn’t above, drop the question in the comments and we’ll add it.
People also ask