Frame
How to make templates for reMarkable 2: the design rules
Knowing how to make templates for reMarkable 2 starts with the four design rules that separate templates that work from templates that don’t. Native page size matters because PDFs that scale lose aspect ratio and land writing tools off-target. Embedded fonts matter because the device falls back to substitute typography that breaks elaborate headers. Form fields don’t work because the reMarkable’s writing tools are designed for ink-on-page rather than form-filling. And hyperlinks are optional but worth the effort for any template that spans more than one page.
Tools
Design tools for making templates for reMarkable 2
- Affinity Publisher ($69 one-time). Set document size to 1404 x 1872 pixels. Export as PDF (Press Ready) with embedded fonts and no form fields. Best fit for users who want a one-time-pay alternative to Adobe.
- Adobe InDesign (Creative Cloud subscription). Industry-standard for print and PDF design. Set document at 7.4 x 9.9 inches at 226 DPI. Export PDF/X-1a for clean reMarkable rendering.
- Figma (free tier available; Pro for PDF export). Frame at 1404 x 1872 pixels, design with auto-layout, export to PDF on the Pro plan. Good for collaborative design and iteration.
- Sketch (Mac only, $99/year). Artboard at 1404 x 1872 pixels, similar export flow to Figma. Mac-native option for designers already in the Sketch ecosystem.
- Canva (free or $13/month Pro). Create custom-size design at 7.4 x 9.9 inches, design with the templates Canva offers, export to PDF. Most accessible for non-designers.
The work that matters is upfront page-size and grid setup. Every design choice that follows is downstream of those decisions.
Templacity editorial
Steps
Step-by-step: how to make a single-page reMarkable 2 template
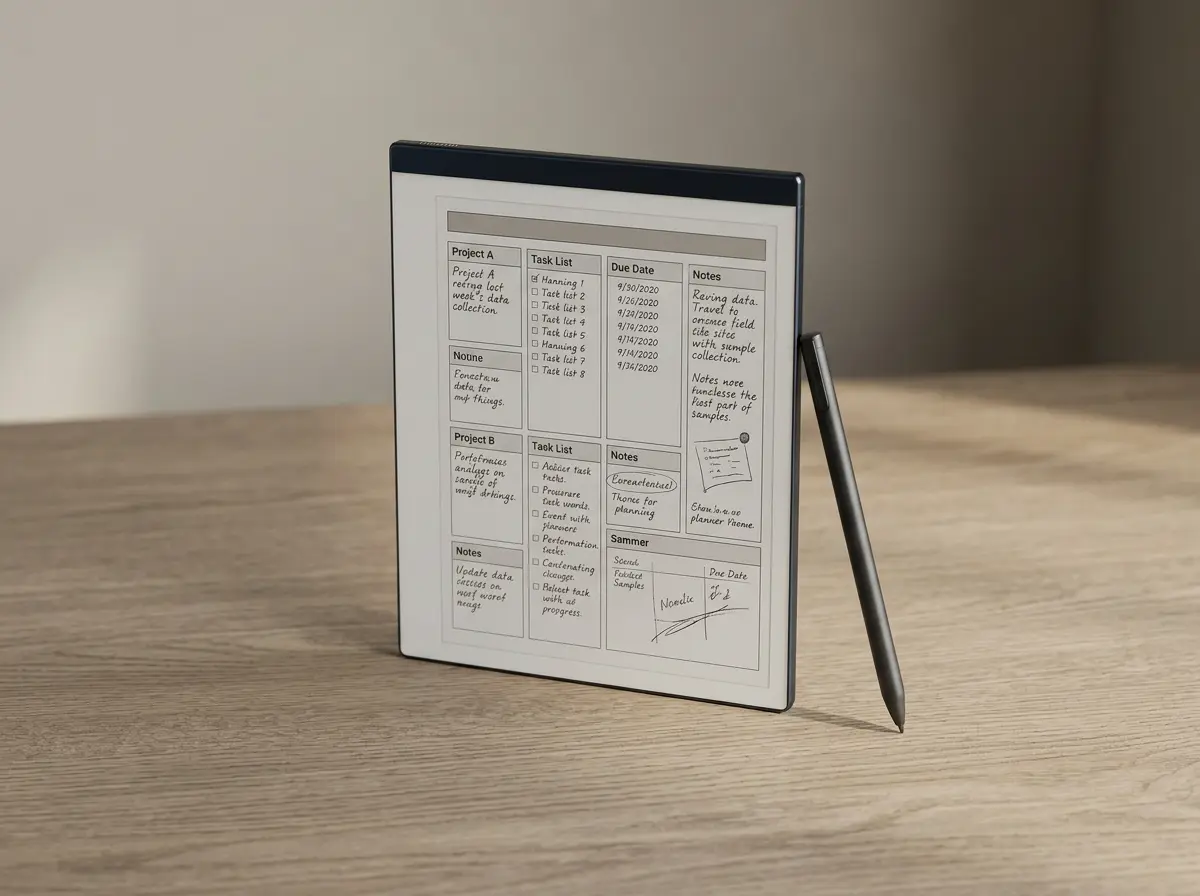
- Set up a custom page size. 1404 x 1872 pixels at 226 DPI in your design tool of choice. Use 80-100 pixel margins on all sides.
- Choose a grid. Most reMarkable 2 templates use a 7-column or 12-column grid for visual structure. Lighter rule weights (0.5pt) read cleaner on the device than bold rules.
- Place the structural elements. Header zone (top 100-150 pixels), content area (the 1204 x 1672 usable region after margins), footer if needed (bottom 80-100 pixels for page numbers or section markers).
- Add type at the right weight. Headers at 18-24pt in a medium weight, body labels at 10-12pt. Avoid heavy black headers; they crowd the page once handwriting goes on top.
- Embed fonts on export. All design tools have a “Subset embedded fonts” option in PDF export. Turn it on; the device’s substitute fonts are not what you want.
- Test by importing to the device. Send the PDF via reMarkable Connect or the desktop app. Open it on the reMarkable 2 and write on top to confirm the writing-tools landing zone is correct.
Multi-page
Adding the hyperlink layer for multi-page templates
For full planner systems with yearly, monthly, weekly, and daily pages, the hyperlink layer is what separates a navigable template from a stack of pages. Hyperlinks in PDFs are page-to-page anchors that the reMarkable preserves on import.
- Affinity Publisher. Use the Hyperlink panel to link selected text or shapes to a target page within the document. On export, choose PDF/X with hyperlinks enabled.
- Adobe InDesign. Use the Hyperlinks panel similarly. InDesign supports more nuanced link types (page anchors, text anchors, button-style interactions) but for reMarkable, page-to-page is sufficient.
- Figma. Figma’s PDF export has limited interactive support. Hyperlinks added through Figma’s prototyping panel may or may not survive PDF export depending on plan tier; test before relying on it.
- Build a navigation grid. Most planner templates use a top-bar navigation row (Year | Month | Week | Day | Notes) where each cell is a hyperlink to the corresponding page type. The user taps the cell to jump.
- Test all links after export. PDFs that export with broken hyperlinks aren’t recoverable on the device. Open the exported PDF in a desktop PDF viewer to verify each link before importing to the reMarkable.
Install
Installing your reMarkable 2 template
Once the PDF exports cleanly, two install paths get the template onto the device. The simpler path is dragging the PDF into the reMarkable desktop app on Mac or Windows; the file syncs through reMarkable Connect within a minute. The alternate path is emailing the PDF to your reMarkable email address (find it in your reMarkable account settings under My Devices).
For users who want the template to appear in the reMarkable’s built-in templates menu (rather than as a notebook in My Files), the templates feature on the higher Connect subscription tier supports custom-template installation. The setup is documented in reMarkable’s Help Center, and the upload happens through the reMarkable web account portal.
For more on reMarkable template specs, our reMarkable 2 template size piece covers the design specs in detail, reMarkable template creator covers a broader DIY angle, and reMarkable template installer walks through installation issues. For roundups of existing templates instead of building from scratch, reMarkable templates covers the field. The reMarkable hub indexes the rest.
FAQ
Common questions, answered briefly
How do you make templates for the reMarkable 2?
What size should reMarkable 2 templates be?
Do you need expensive software to make reMarkable 2 templates?
Do reMarkable 2 templates need hyperlinks?
How long does it take to make a reMarkable 2 template?
How do you install a custom template on the reMarkable 2?
If a different design-tool flow has worked well for making reMarkable 2 templates (a clever export setting, an unusual grid system, a hyperlink-builder script), drop the notes in the comments. Template design is a craft, and a current page beats a tidy one.