Ultimate Guides
The Best Templates for reMarkable 2 in 2025: Free & Premium Guide
Your reMarkable 2 is capable of replacing your entire office desk. Out of the box, however, it feels more like a sketchbook than a workstation. The default “Layers” menu offers a few basic grids and lined pages, but for serious professionals, students, and creatives, these simply aren’t enough. To truly unlock the power of your device, you need to load it with specialized layouts.
Finding high-quality **templates for remarkable 2** can be a challenge. The internet is flooded with poorly sized images, broken PDF links, and designs that look muddy on the E-Ink screen. In this comprehensive guide, we will break down everything you need to know: the difference between native and PDF templates, the best layouts for specific professions, and where to download the files that will transform your productivity in 2025.

The “Format” Confusion: Native vs. PDF
Before you start downloading files, you need to understand that there are two distinct types of **templates for remarkable 2**. They function completely differently.
1. Native Layer Templates (Backgrounds)
These are the grids you select from the device’s “Layers” menu. They sit behind your writing.
- Pros: Infinite scrolling (on software 3.0+). You can add new pages endlessly.
- Cons: Extremely difficult to install. You need to “hack” the device using SSH code or paid utilities. They cannot have hyperlinks (buttons).
2. PDF Templates (Planners)
These are documents you upload, just like an eBook.
- Pros: Easy to install (drag and drop). They support Smart Navigation—you can tap a button to jump from Page 1 to Page 50 instantly.
- Cons: You are limited to the pages in the file (though you can duplicate them).
For 99% of users, PDF Templates are the superior choice because of the navigation capabilities.
Category 1: Business & Productivity
If you use your tablet for work, these are the essential **templates for remarkable 2** you should look for.
The Meeting Minute Log
Stop taking messy notes. A structured meeting template includes sections for:
- Attendees: Who was there?
- Agenda: What was discussed?
- Action Items: Who needs to do what by when?
Having a dedicated “Action Item” box ensures you never forget a follow-up task.
The Kanban Board
Based on the Agile methodology, this layout divides the page into columns: “To Do,” “In Progress,” and “Done.” You can use the reMarkable’s “Selection Tool” to circle a task and physically drag it from one column to the next as you complete it. It is incredibly satisfying.
The Time-Blocked Daily View
This layout features a vertical timeline (e.g., 6 AM to 9 PM) on the left side of the page. It allows you to visualize your day as distinct blocks of time, preventing over-scheduling.
Category 2: Academic & Student
Students are some of the heaviest users of the reMarkable.
Cornell Notes System
This famous layout divides the page into three zones:
- Cue Column (Left): For keywords and questions.
- Note-Taking Area (Right): For the main lecture notes.
- Summary (Bottom): For a 2-sentence recap of the lecture.
Using this template forces you to review and synthesize information, which improves retention.
Assignment Tracker
A simple spreadsheet-style layout to track due dates, grades, and submission status across different subjects.
Category 3: Lifestyle & Wellbeing
Your device isn’t just for work. Many users find success with these lifestyle templates.
Habit Tracker
A grid of 30 days. You write your habits on the left (e.g., “Read 10 pages,” “Drink Water”) and color in the box for each day you succeed. Seeing a “streak” of filled boxes is a powerful psychological motivator.
Meal Planner
A weekly view specifically designed for food. It usually includes a grocery list section on the side so you can plan your shopping trip while planning your dinners.
Comparison: Free vs. Paid Sources
Should you pay for **templates for remarkable 2** or use free ones? Here is the breakdown.
| Feature | Free Sources (ReCalendar/GitHub) | Paid Sources (Templacity/Etsy) |
|---|---|---|
| Cost | $0 | $15 – $40 |
| Aesthetics | Basic, Utilitarian (Spreadsheet look) | High Design, E-Ink Optimized |
| Navigation | Basic links (Day to Month) | Advanced (Sidebar, Index, Projects) |
| Integration | None (Separate files) | High (All-in-one ecosystem) |
| Support | None (You are on your own) | Customer Service included |
The Verdict: If you are a student on a budget, free tools like ReCalendar are excellent. If you are a professional who values their time, a paid bundle saves you hours of friction by connecting all your workflows into one file.
How to Install Templates
Installing a PDF template is safe and takes seconds.
- Download the file (ending in `.pdf`) to your computer.
- Open the official reMarkable Desktop App.
- Drag the file onto the app window.
- Wait for the synchronization bar to finish.
Once synced, open the file on your tablet. Important: To use the hyperlinks, ensure you have the “Navigation Tool” (finger icon) selected in the toolbar, or simply tap with your finger. You cannot click links while the Pen tool is active.
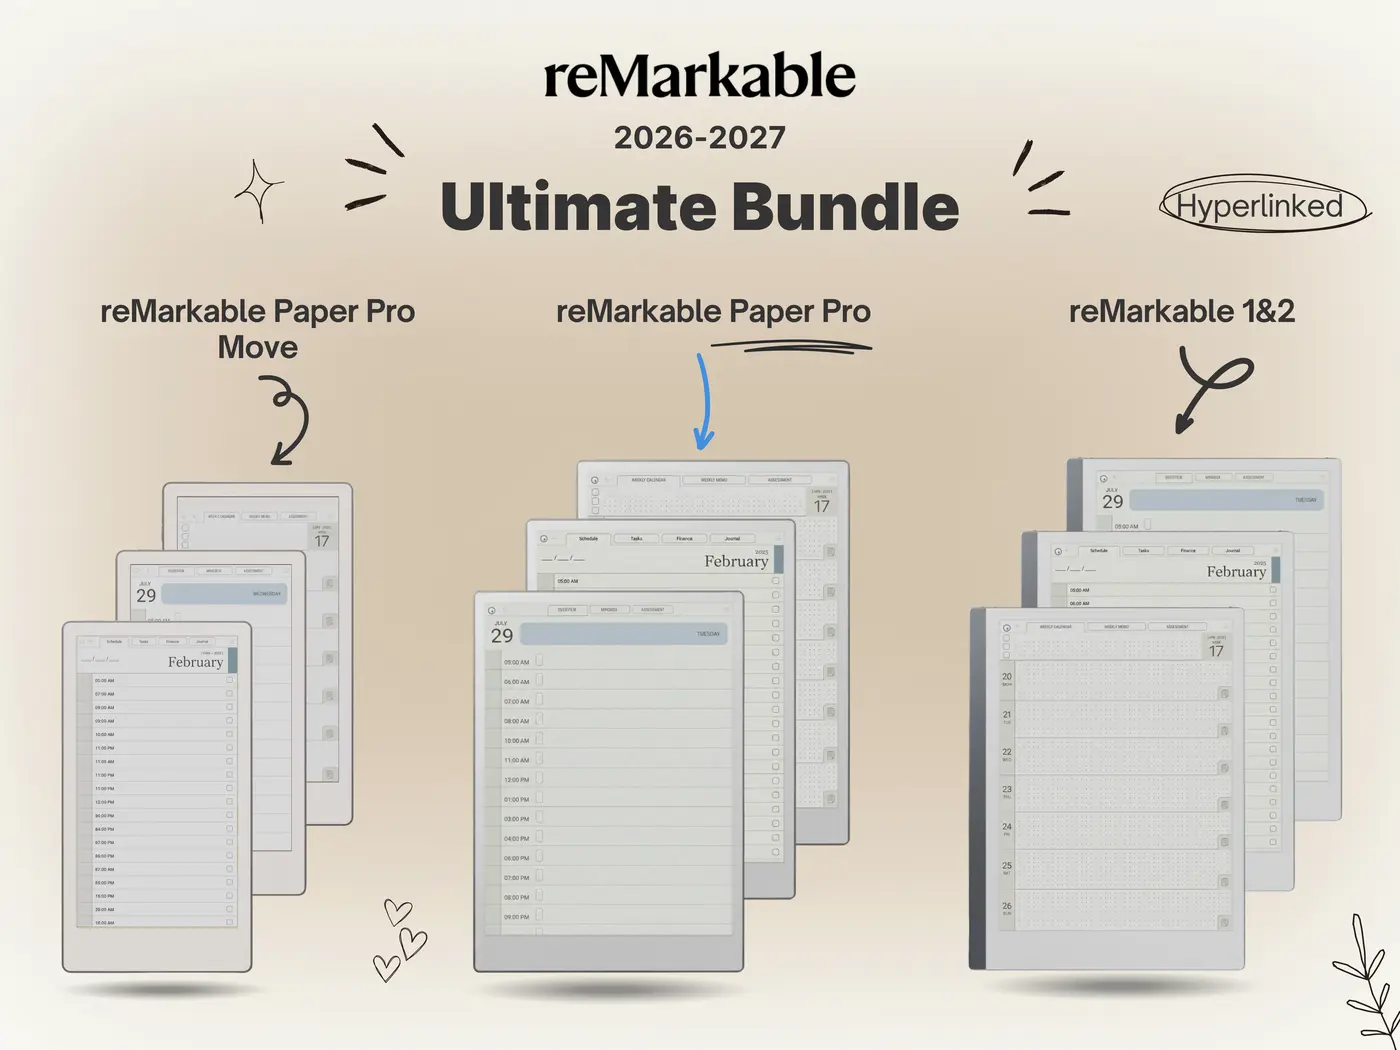
Our Top Recommendation
Instead of downloading five different files (one for meetings, one for calendar, one for habits), we recommend getting a single “Master File.”

The Templacity Ultimate Bundle is an operating system for your life. It links your Daily Planner to your Project Board, and your Project Board to your Meeting Notes. It is the most efficient way to use the reMarkable 2 in 2025.
Upgrade Your Device
Don’t let your powerful tablet act like a dumb notepad. Install the system used by thousands of professionals.