Kindle Scribe OneNote Integration: Ultimate Sync Guide
Kindle Scribe OneNote Integration: Ultimate Sync Guide Productivity & Tech Mastering Your Kindle Scribe OneNote Integration Workflow For professionals who live in the Microsoft ecosystem,
Device Target
All 2026 Models
File Export
SVG & PDF
Installation
SSH or Desktop App
Out of the box, an e-ink tablet is little more than a digital scratchpad. It ships with a handful of basic ruled and grid layouts that satisfy minimalists but consistently fail power users. To bridge the gap between simple note-taking and complex project management, you must step into the role of a reMarkable Template Creator. Mastering this skill allows you to transform generic, static pages into highly customized, industry-specific architectural frameworks tailored exactly to your brain.
In this exhaustive 1,500-word analysis, we will demystify the technical pipelines necessary to build your own digital stationery in 2026. We will deconstruct the critical differences between native SVG layers and interactive PDF documents, provide exact pixel geometries for the Paper Pro and Move lineups, and explain how to safely inject JSON code via SSH. Whether you are aiming to design a simple habit tracker or a hyperlinked corporate planner, becoming your own reMarkable Template Creator grants you ultimate sovereignty over your digital workspace.
Technical Deep Dive: When most users refer to being a reMarkable Template Creator, they are talking about building native layers. These are image files (historically PNGs, now transitioning to scalable SVGs) that live deep within the tablet’s root directory: `/usr/share/remarkable/templates`. When you open a standard notebook and select “Change Template,” you are accessing these files. The operating system utilizes them as static, repeating backgrounds, allowing you to instantly generate infinite new pages utilizing that exact same grid layout.
Workflow Application: Native templates are perfect for repetitive, single-page workflows. If you are an architect who needs an isometric dot grid for sketching, or a journalist who requires a classic reporter’s steno layout, building a native background is the ideal path. It integrates flawlessly into the device’s native UI, keeping your files lightweight and your navigation seamless.
Technical Deep Dive: The alternative approach is designing a hyperlinked PDF document. Rather than modifying the root system, you build a multi-page file on your computer and upload it via the official desktop application. As a PDF reMarkable Template Creator, you embed XML hit-boxes over text tabs, allowing the user to tap “January” and instantly teleport to page 32. However, because it is a fixed document, you cannot infinitely “add a new page” of a specific layout without manually duplicating the existing page.
Workflow Application: If your goal is to build a complex, year-long organizational system, a hyperlinked PDF is the only viable solution. You can jump from a meeting note directly to a budget ledger. While native templates excel at infinite drafting, PDF planners operate as interconnected databases, serving as the ultimate executive dashboard for managing long-term professional deliverables.
Technical Deep Dive: There is a hidden cost to native backgrounds. Whenever the device downloads an official over-the-air (OTA) OS update, it completely wipes the root partition. This means any custom SVGs you pushed to the device will be instantly deleted, and the UI will revert to factory settings. A PDF document, however, is stored in your personal cloud sync folder and remains completely untouched by firmware updates.
Workflow Application: If you choose the native route, you must maintain a backup folder on your PC containing your custom SVGs and JSON code snippets. When an update hits, you simply re-inject the files. If you find this maintenance tedious, you should abandon root modifications entirely and focus on becoming a PDF-based reMarkable Template Creator for maximum stability.

Technical Deep Dive: Precision is the hallmark of an expert reMarkable Template Creator. If you export a file at the wrong dimensions, the custom Linux OS will attempt to scale it up or down. This software interpolation results in blurry lines and fuzzy text, destroying the illusion of ink on paper. You must set your canvas exactly to the hardware’s native resolution.
Workflow Application: Before opening your design software, check your target device. For the classic reMarkable 1 and 2, set your canvas to 1404 x 1872 pixels (226 PPI). If you are designing for the massive 11.8-inch Paper Pro, you must use 1620 x 2160 pixels (229 PPI). Understanding these exact geometries ensures your dotted lines render perfectly crisp, preventing eye strain during heavy reading sessions.
Technical Deep Dive: In 2026, the introduction of the Paper Pro Move shattered the standard aspect ratios. The smaller 7.3-inch device operates at a unique 16:9 ratio with a resolution of 1696 x 954 pixels. Attempting to force an older, 4:3 template onto the Move will result in severe letterboxing (black bars on the top and bottom) or aggressive squishing.
Workflow Application: As a reMarkable Template Creator targeting the Move, you must adopt a “Mobile-First” design philosophy. The narrower screen width demands vertical layouts. Utilize single-column lists and avoid wide, multi-cell Kanban tables that require excessive panning. Design your layouts to mimic a traditional steno pad, optimizing for rapid, one-handed field notes.
Technical Deep Dive: When designing for older hardware, use pure black (`#000000`) for primary borders and a medium gray (`#D1D1D6`) for writing guides. However, if you are building for the Gallery 3 color displays, you can leverage semantic color. The Gallery 3 technology renders cyan, magenta, and yellow natively, but heavy, dark backgrounds will severely slow down the screen’s refresh rate.
Workflow Application: Keep your color designs “Quiet.” Do not flood the background with solid color blocks. Use pastel blue lines for morning routines and soft green headers for financial trackers. This minimalist approach leverages the human brain’s rapid color-processing ability, helping you switch between work “Modes” instantly without bogging down the tablet’s processor.
Technical Deep Dive: To avoid pixelation, every professional reMarkable Template Creator relies on vector graphics software. Tools like Adobe Illustrator, Figma, or Affinity Designer allow you to draw lines using mathematical equations rather than fixed pixels. When you export these designs as SVGs (Scalable Vector Graphics), the tablet’s rendering engine reads the math, drawing a perfectly sharp line regardless of zoom level.
Workflow Application: Figma is highly recommended for beginners because it is free and cloud-based. You can easily set your frame to 1620 x 2160, drag in pre-built UI components, and align your grids with mathematical precision using the “Align” tools. Export your final frame as both an SVG (for native injection) and a PDF (for document import) to test both methods.
Technical Deep Dive: If you are building a PDF planner, presentation software is your secret weapon. Apple Keynote and Microsoft PowerPoint operate on a slide-based architecture that perfectly mirrors PDF pages. Their “Slide Master” features allow you to build a background layout (like a dotted grid and a top navigation bar) that applies automatically to every new page you generate.
Workflow Application: Building a 100-page notebook with linked tabs is incredibly fast in Keynote. You simply highlight a text box, hit Command+K, and link it to “Slide 50.” For users heavily embedded in corporate environments, leveraging PowerPoint to become a reMarkable Template Creator keeps your workflow entirely within familiar, company-approved software ecosystems.
Technical Deep Dive: For massive, enterprise-grade planners, Adobe InDesign is the undisputed champion. It can ingest raw Excel spreadsheets and use the “Data Merge” function to automatically generate thousands of correctly dated daily pages and calendar grids. It compiles highly complex XML linking trees without generating bloated, RAM-heavy file sizes.
Workflow Application: If you intend to sell your files on Etsy or deploy them across an entire agency, you must learn InDesign. The learning curve is brutal, but it guarantees the sharpest vector lines and the fastest hyperlinking response times. It is the tool separating amateur hobbyists from professional structural designers.
| Software Choice | Best Feature | Ideal Project Type |
|---|---|---|
| Figma (Free) | Pixel-perfect Vector Alignment | Single-page SVGs & Native backgrounds |
| Apple Keynote | Rapid Internal Hyperlinking | Intermediate PDF notebooks (50-100 pages) |
| Adobe InDesign | Excel Data Merge Automation | Massive 365-day planners (1,000+ pages) |
If you choose to build native backgrounds, you must master the installation pipeline. Follow this roadmap carefully, as modifying the root directory carries the risk of temporarily locking your user interface.
Technical Deep Dive: Every native background must be registered in the system’s `templates.json` file. This code block tells the UI what the file is named, which icon to display in the menu, and whether it supports landscape orientation. As a reMarkable Template Creator, you must understand that JSON is entirely unforgiving. A single missing comma or bracket will cause the entire notebook interface to crash upon reboot.
Workflow Application: Always use a JSON validator website before saving your edits. Furthermore, create a copy of the original `templates.json` file on your desktop before you start hacking. If you accidentally corrupt the code, you can use your SFTP client (like Cyberduck) to instantly drag the original file back over, restoring the tablet’s functionality in seconds.
Technical Deep Dive: If terminal commands terrify you, the community has built GUI wrappers to handle the heavy lifting. Software like the reMarkable Connection Utility (RCU) or Free reMarkable Tools automatically establish the SSH connection, convert your images to the correct SVG format, and cleanly inject the JSON code without risk of corruption.
Workflow Application: For most users, purchasing a license for RCU is the smartest investment they can make. It transforms the highly technical role of a reMarkable Template Creator into a simple “drag-and-drop” desktop experience. It also features a crucial “Restore” button that automatically pushes your custom templates back to the device after an over-the-air firmware update wipes them out.
Technical Deep Dive: A beautifully designed template is useless if you cannot extract the data you write on it. The custom Linux OS renders your pen strokes as vector data overlaying your background. When you use the official desktop app to export your notes as a PDF, the system flattens these two layers together, creating a permanent, universally readable document.
Workflow Application: Perform a “Hard Archive” every month. Export your completed custom project boards to your PC and save them in a dedicated OneDrive folder. This guarantees that your handwritten insights survive even if your tablet is lost, damaged, or requires a hard factory reset. You can read more about file handling in our reMarkable Template Installer guide.
Technical Deep Dive: The hardware landscape is evolving rapidly toward pocket-sized devices. As a reMarkable Template Creator, you must future-proof your designs. A massive, complex Gantt chart that looks incredible on an 11.8-inch screen will be completely illegible when synced to a mobile companion app or a smaller e-ink phone.
Workflow Application: Adopt responsive design principles. Use larger, bolder headers (`#000000`) and ensure your main text input boxes are wide enough to accommodate sloppy, rapid handwriting. Test your exported PDFs on your smartphone before finalizing them. If you cannot read the navigational tabs on your phone screen, your touch targets are too small for real-world professional utility.
Becoming an expert reMarkable Template Creator is the definitive way to unlock the true ROI of your e-ink hardware. By strictly matching the unique pixel resolutions of the 2026 hardware lineup, deciding between infinite native SVGs and hyperlinked PDF databases, and mastering the SSH or RCU installation pipelines, you take absolute control over your digital sanctuary. You stop conforming to generic tools and start forcing your technology to conform to you.
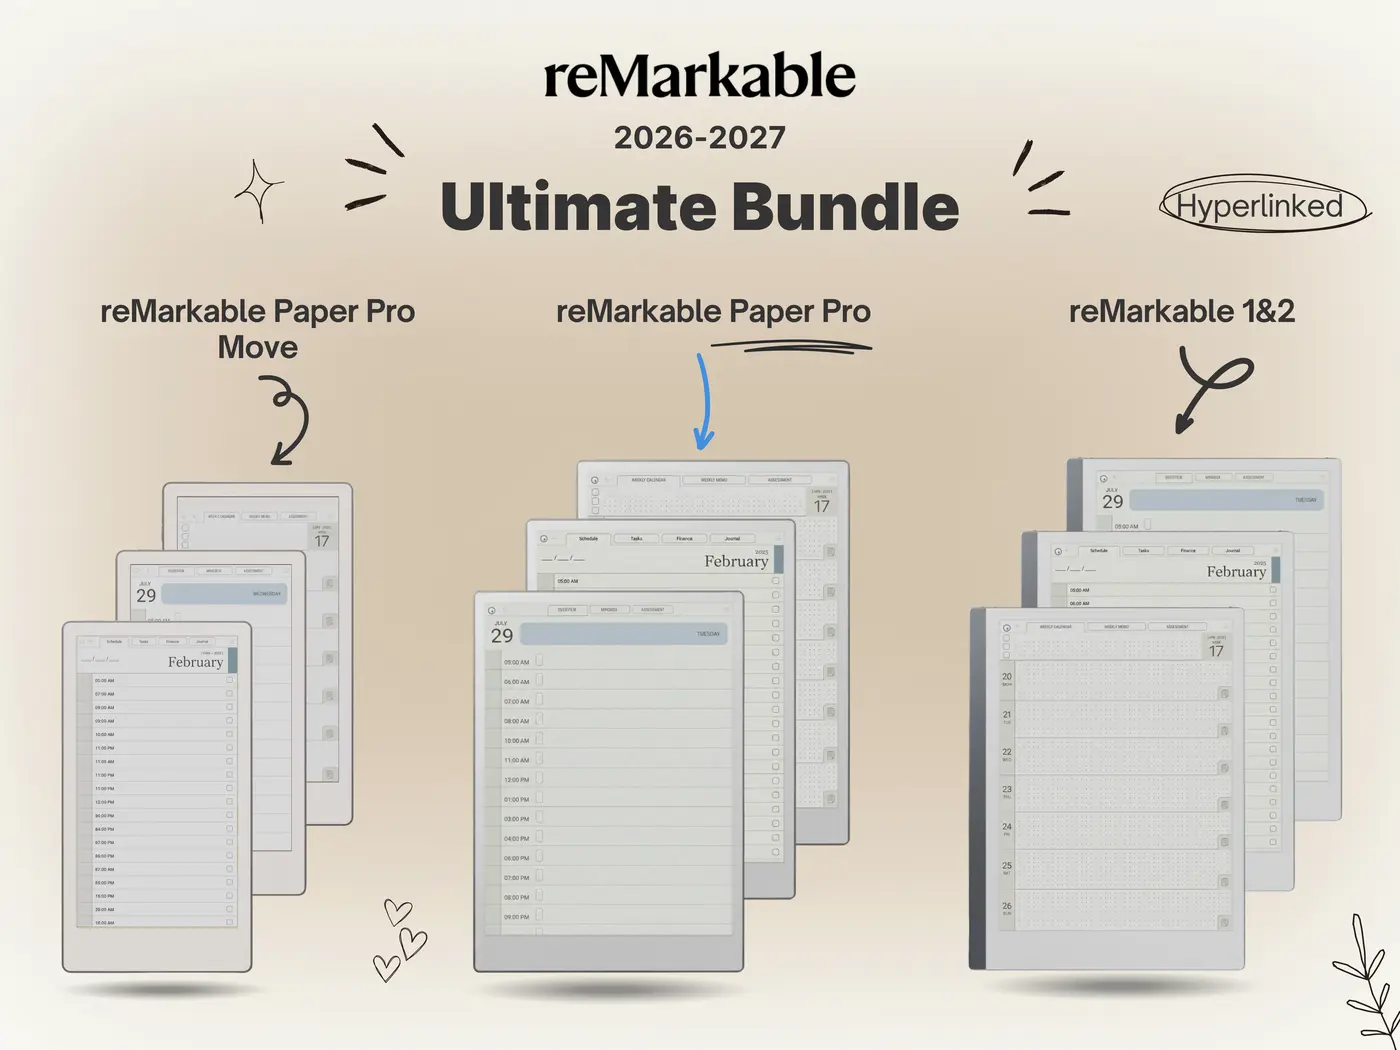
Don’t have the time to learn JSON syntax and SSH protocols? Instantly upgrade your workflow with our Ultimate Template Bundle. Hyperlinked, perfectly scaled for the Paper Pro, and 100% immune to OS firmware updates.
Shop the Professional Bundle
One Response