Kindle Scribe OneNote Integration: Ultimate Sync Guide
Kindle Scribe OneNote Integration: Ultimate Sync Guide Productivity & Tech Mastering Your Kindle Scribe OneNote Integration Workflow For professionals who live in the Microsoft ecosystem,
You have upgraded to the stunning 11.8-inch Canvas Color display, but a premium tablet is only as effective as the software running on it. To truly maximize your daily productivity, you need a dedicated reMarkable paper pro planner engineered specifically for this exact hardware.

For years, digital note-takers managed their lives in monochrome. The introduction of the active front light and the Gallery 3 color technology fundamentally altered how we interact with digital documents. However, to harness this power, your reMarkable paper pro planner must be built from the ground up to support it.
A standard PDF planner designed for older devices will simply display in black and white. It will not take advantage of the 229 DPI resolution, and it will not provide the visual hierarchy that color enables. As we detail extensively in our main reMarkable Paper Pro Guide, treating this flagship device like a generic e-reader is a massive waste of its capabilities.
When you utilize a properly formatted reMarkable paper pro planner, you transform the tablet into an interactive dashboard. You can navigate between Q1 strategy overviews and daily granular tasks with a single tap, completely bypassing the native (and somewhat clunky) folder system.
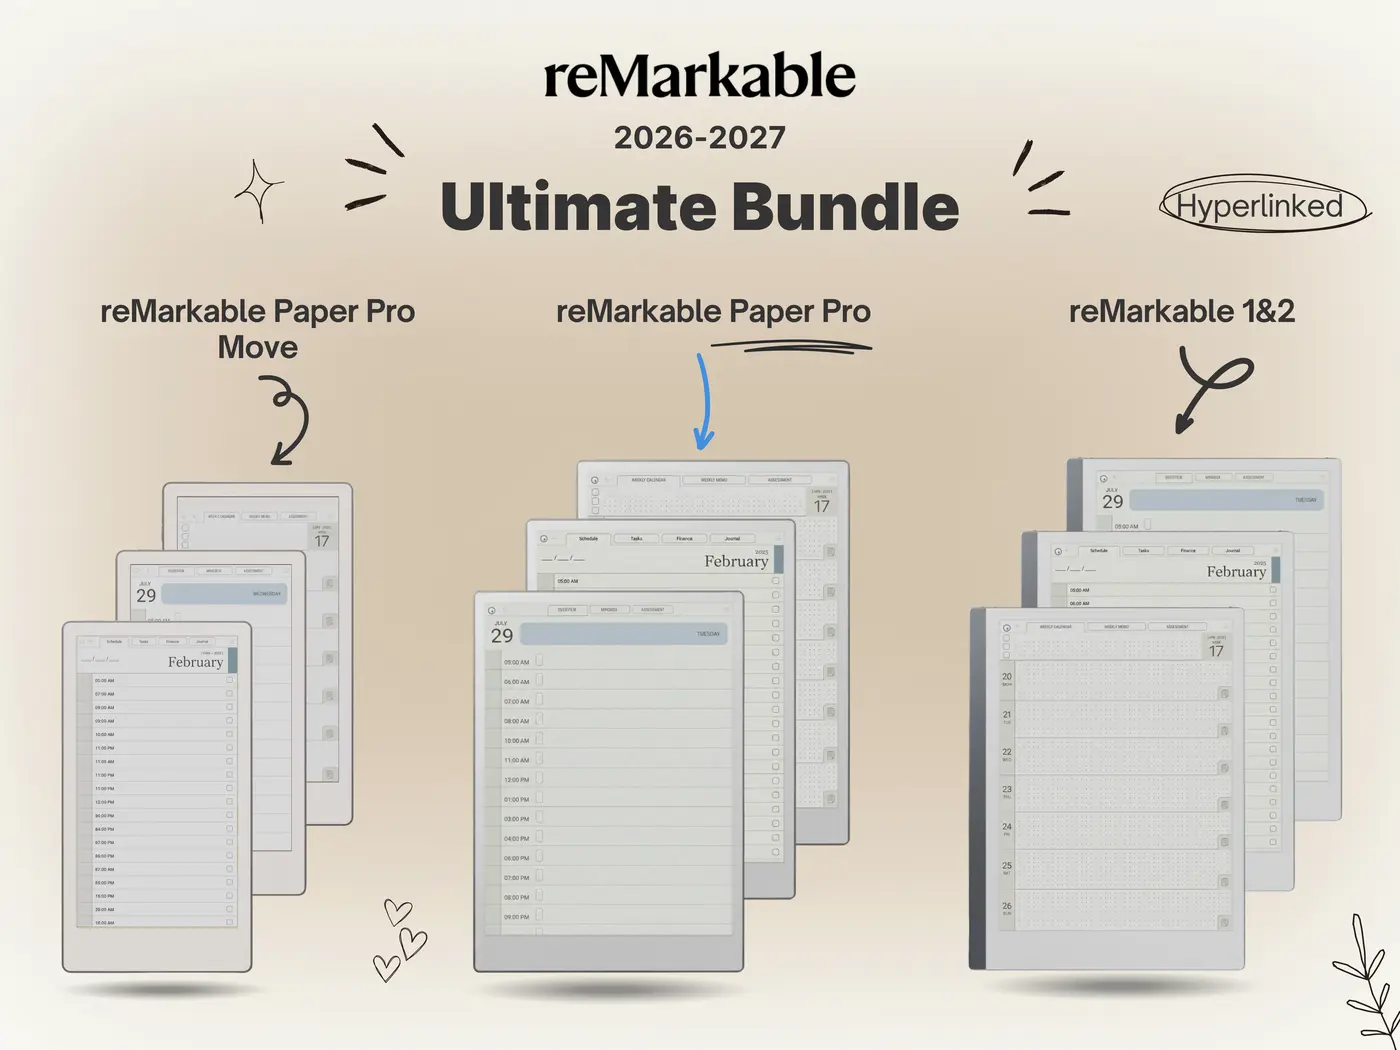
Not all digital stationery is created equal. A true professional needs an architecture that anticipates their workload. If you are shopping for a 2026 reMarkable paper pro planner, ensure it contains the following structural elements:
The biggest mistake new users make is treating their color E-Ink screen like an iPad. According to the physics detailed by the E Ink Corporation, generating deep, heavily saturated color requires moving pigment particles, which can slow down page refreshes and cause “ghosting.”
An expertly designed reMarkable paper pro planner utilizes semantic color-coding. The background of the planner remains a stark, high-contrast white. The color is used sparingly but intentionally—for example, pastel blue tabs for the first quarter, and soft green for the second. This prevents visual fatigue.

By keeping the base design minimalist, the document invites you to provide the color. You can use the red marker tool to circle urgent client deadlines, or the yellow highlighter to mark completed project phases. This methodology is heavily praised by productivity experts at Wired for reducing cognitive load during busy workdays.
If you try to load an old, A4-sized PDF onto your new tablet, you will immediately encounter the scaling problem. The Paper Pro operates on a very specific 1620 x 2160 pixel grid. An A4 document does not perfectly match this aspect ratio.
When the tablet is forced to stretch or compress a PDF, the lines become fuzzy. The crisp, printed-paper look is lost. A native reMarkable paper pro planner is exported at the exact 1620 x 2160 resolution. Every dotted grid, every line, and every text header aligns perfectly with the physical pixels on the screen, resulting in a razor-sharp image that never requires you to pinch and zoom.
| Feature | Generic A4 PDF | Native 1620×2160 Planner |
|---|---|---|
| Text Clarity | Often slightly blurred or jagged. | Razor-sharp, mimicking printed paper. |
| Touch Targets | Cramped, resulting in missed taps. | Optimized for natural thumb reach. |
| Page Refresh | Sluggish due to algorithmic scaling. | Instant, optimized rendering. |
Getting your new reMarkable paper pro planner onto your device is a straightforward process, provided you use the official channels. Avoid third-party cloud sync apps, as they can sometimes compress the file and break the internal hyperlinks.
Simply open the official desktop app, locate your downloaded PDF file, and drag it into the interface. Depending on the size of the file (a fully dated 365-day calendar can be large), it may take a minute or two to sync over your Wi-Fi network. E-reader specialists at Good e-Reader recommend keeping your PDF file sizes under 20MB for the best hardware performance, which requires careful vector optimization by the template designer.
Once the reMarkable paper pro planner appears on your tablet, duplicate it immediately. Keep a blank “Master Copy” in a safe folder so you never have to re-import the original file if you want to start a fresh project.
You did not invest in an 11.8-inch color E-Ink display to scribble aimlessly on blank pages. The hardware is a brilliant, distraction-free environment, but it relies entirely on the structure you provide it.
By installing a professional-grade reMarkable paper pro planner, you shift the burden of organization off your shoulders. The calendar is already drawn. The project hubs are already linked. Your only job is to open the tablet, look at your Top 3 Priorities for the day, and get to work.
Stop fighting with blurry, scaled-down documents. Equip your 11.8″ Canvas Color display with our Ultimate 2026 Template Bundle, engineered specifically for the 1620 x 2160 pixel grid. Featuring fully dated layouts, massive touch targets, and semantic color-coding.
Shop the 2026 Pro Bundle →