Device Tutorials
How to Use reMarkable Paper Pro: The Complete 2026 Beginner’s Guide
So, you finally upgraded. You traded in the monochrome simplicity of the reMarkable 2 for the vibrant, backlit promise of the reMarkable Paper Pro. But as soon as you unboxed it, you likely realized: this is a different beast. It’s heavier, the screen feels different, and—most importantly—the pen needs electricity.
Learning **how to use remarkable paper pro** isn’t just about figuring out where the power button is. It’s about mastering a new workflow that includes color coding, managing an active stylus, and navigating a larger 11.8-inch interface. Whether you are a veteran user or this is your first E-Ink tablet, the learning curve can be tricky. In this guide, we break down the essential steps to mastering your new device, from the first charge to advanced gesture controls.

Step 1: The Active Marker (It Needs Charge!)
If you are coming from a reMarkable 2, this is the biggest shock. The old pens used Wacom EMR technology, which was passive and never needed charging. Learning **how to use remarkable paper pro** starts with accepting that your pen now has a battery.
How to Charge It
You must snap the Marker to the right side of the tablet. You will see a small battery icon appear on the screen confirming the connection. If you leave the pen on your desk overnight, it will die, and you will not be able to write.
Why is it active? The new Canvas Color display requires a higher voltage signal to move the colored ink particles. The tablet itself sends power to the pen to drive this interaction. Warning: You cannot use your old reMarkable 2 pens or Lamy AL-Star pens on this device. They will not work.
Step 2: Mastering Canvas Color
The screen technology here is based on E Ink Gallery 3. It is not an LCD screen like an iPad. The colors are made of physical particles moving through a gel.
Managing Expectations:
When you select “Red” or “Blue,” you might notice a slight “flash” or a delay. This is normal. The screen has to physically reset the particles. The colors will appear pastel and textured, almost like a newspaper print.
Best Use Cases for Color:
Don’t try to paint a masterpiece. Use color for structure.
• Use Red for deadlines and urgent tasks.
• Use Blue for hyperlinks and navigational elements.
• Use Yellow highlighters to categorize reading notes.
Step 3: Adjusting the Reading Light
For the first time, reMarkable has added a front light. Unlike a phone that shines light at you, this shines light onto the e-ink surface.
How to access it:
Swipe down from the top-right corner of the screen to open the “Quick Settings” menu. You will see a slider for brightness.
Pro Tip: Keep the light off during the day. E-ink looks best in natural sunlight. Only turn the light on when you are in a dim room. Running the light at 100% brightness will drain the battery significantly faster, reducing your runtime from 2 weeks to just a few days.
Step 4: New Gestures (The Drawer)
The larger 11.8-inch screen allows for better multitasking. A critical part of learning **how to use remarkable paper pro** is mastering the new gestures introduced in software version 3.10+.
The Two-Finger Swipe
Swipe down from the top of the screen with two fingers. This opens the “Drawer” (or Recent Files). It shows your last 5 opened documents. This is the fastest way to switch between your daily planner and your meeting notes without going back to the home screen.
The Quick Browse
Swipe up from the bottom of the screen. This brings up a scroll bar that lets you flip through pages in your current notebook rapidly, much like flipping through a physical book.
Step 5: Folders vs. Tags
With 64GB of storage, you can store thousands of documents. If you don’t organize them, you will lose them.
The Folder Method:
Best for archiving. Create folders for “2025,” “2026,” “Clients,” and “Personal.” Move finished notebooks here.
The Tag Method:
Best for active work. Tap the “Tag” icon in the sidebar menu to create labels like “Urgent,” “To Read,” or “Waiting for Reply.” You can tag a single page inside a notebook without moving the file. When you search for the tag “Urgent,” the device will show you every specific page marked with that tag across your entire library.
For a deeper dive on file management, check the official reMarkable Support guides.
Final Verdict
Learning **how to use remarkable paper pro** effectively requires a mindset shift. You are not just using a digital notebook; you are using a focused workstation. The addition of color and light removes the friction that held the reMarkable 2 back, but the active pen and new gestures add a layer of complexity.
Take the time to charge your pen every night, experiment with the color highlighters, and master the two-finger swipe. Once you build these habits, the Paper Pro becomes the ultimate tool for distraction-free thinking.
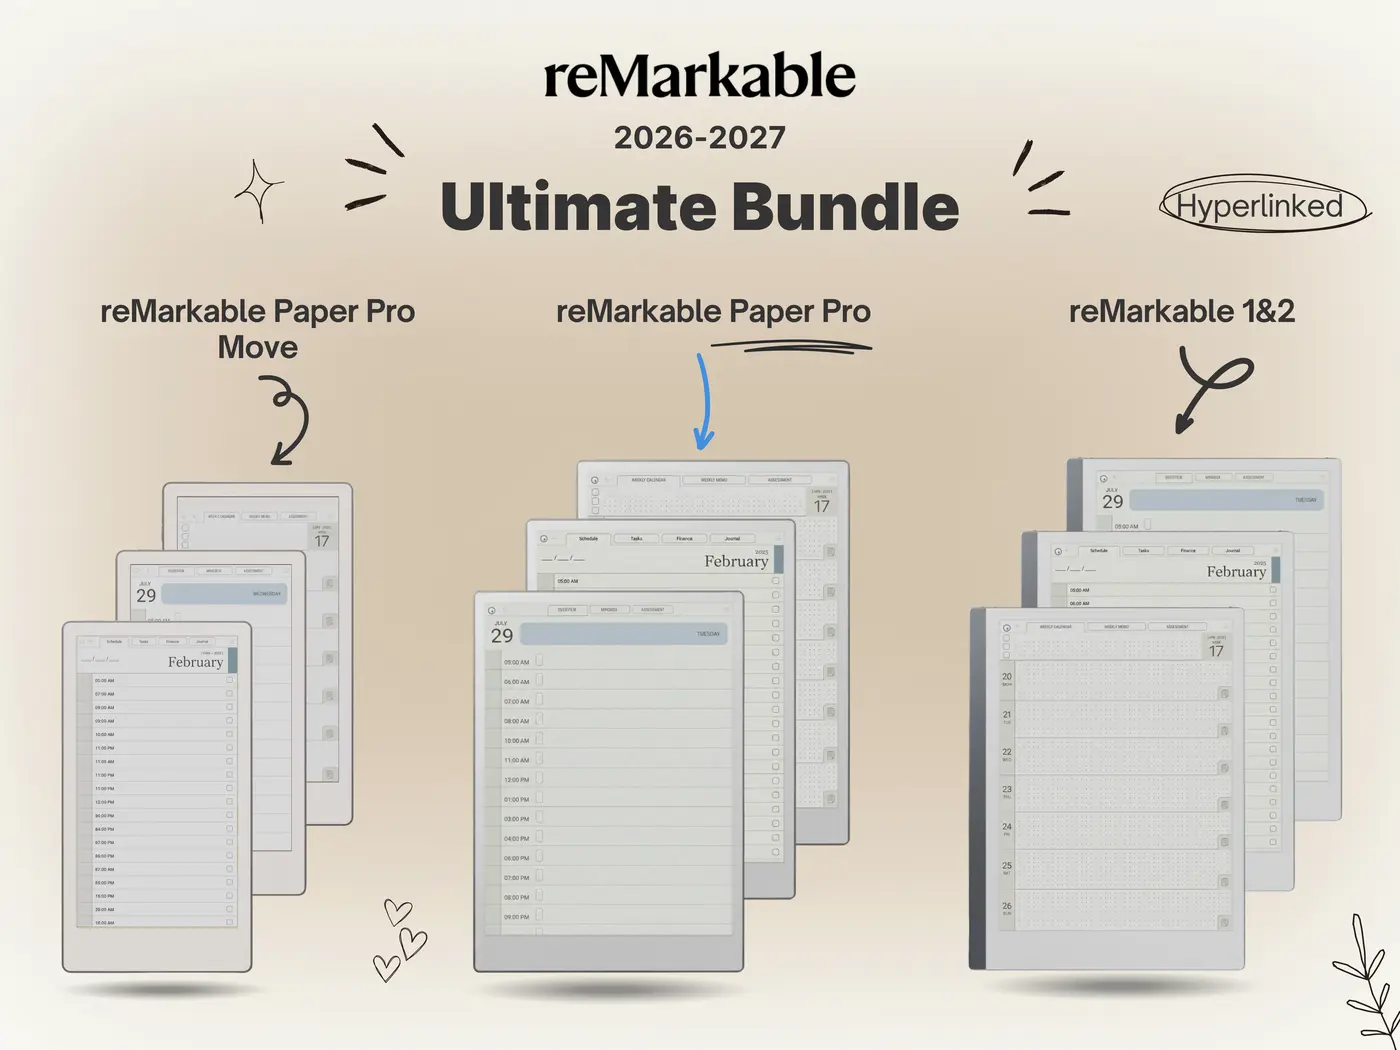
Fill Your New Screen
Now that you know how to use the hardware, get the software to match. Download our 2026 Planner Bundle, fully optimized with color hyperlinks for the Paper Pro.