DIY Tutorials
How to Make Templates for reMarkable 2: The Ultimate DIY Guide (2025)
So, the built-in templates aren’t cutting it. You’ve scrolled through “US Legal,” “Grid Small,” and “Perspective,” but none of them match the specific workflow you have in your head. Maybe you need a specialized storyboard layout for film, a specific medical chart, or a unique “Cornell Notes” variation. The beauty of the reMarkable 2 is its hackability—if it doesn’t exist, you can build it.
However, learning **how to make templates for remarkable 2** can be confusing because there are two completely different ways to do it, and they require different tools. In this master guide, we will walk you through the entire process: from choosing the right method (Native vs. PDF) to setting up your canvas in Canva or Figma, and finally, installing your creation onto the device.

Phase 1: Choose Your Method
Before you open any design software, you must decide what you are actually trying to build. Most people confuse “Templates” with “Documents.”
Method A: The PDF Planner (Recommended)
What it is: A multi-page document (like a book) that you write on top of.
Pros: Easier to make. Supports Hyperlinks (clickable buttons). Safe from firmware updates.
Cons: You cannot add new pages infinitely; you have to duplicate existing ones.
Method B: The Native Template
What it is: A background image (PNG) that appears in your “Layers” menu alongside “Grid” and “Lined.”
Pros: You can create infinite pages with this background.
Cons: Hard to install. Requires hacking the device. Does NOT support hyperlinks. Often gets deleted by system updates.
For 95% of users, Method A (PDF Planner) is the correct choice. We will focus on that first.
Phase 2: The Specs (Pixels & DPI)
If you get the math wrong, your template will look blurry or have ugly black bars on the side. Whether you use Photoshop, Canva, or Figma, set your canvas to these exact numbers:
- Width: 1404 pixels
- Height: 1872 pixels
- Resolution: 226 DPI (Dots Per Inch)
- Color Mode: Grayscale or RGB (but remember, it will display B&W)
The “Safe Zone”
The reMarkable 2 has a toolbar that usually sits on the left side of the screen. It takes up approximately 120 pixels.
Crucial Rule: Do not put any text, checkboxes, or important graphics in the left-most 120px of your design. If you do, the toolbar will cover them, and you’ll have to hide the toolbar every time you want to see them.
Phase 3: Designing in Canva/Figma
You don’t need expensive software. Here is the workflow for the two most popular tools.
Option 1: Using Canva (For Beginners)
- Click “Create a Design” > “Custom Size.”
- Enter 1404 x 1872 px.
- Use the “Lines” tool to create your grids. Set the line weight to 1 or 2. Anything thicker looks cartoonish on the tablet.
- Use dark grey (Hex #333333) instead of pure black for lines. This mimics the look of real printed paper and is softer on the eyes.
- Export as PDF Standard. Do not use “PDF Print” unless you plan to actually print it on paper, as it bloats the file size.
Option 2: Using Figma (For Pros)
- Create a Frame sized 1404 x 1872.
- Use “Components” for elements you repeat, like headers or dates.
- Figma is superior for exact alignment. You can ensure every checkbox is exactly 40px apart.
- Export using the “PDF” setting in the bottom right export menu.
Phase 4: Adding “Smart” Buttons
If you want to know **how to make templates for remarkable 2** that feel like apps, you need hyperlinks. This is only possible if you are creating a PDF (Method A).
How to do it:
- In Canva: Select a text element (e.g., “January”). Click the Link icon (chain). Instead of typing a URL, look for the section “Pages in this document.” Select Page 5 (or wherever January starts).
- In PowerPoint/Keynote: Right-click a shape > “Hyperlink” > “Place in this document.”
- The “Master Slide” Secret: If you are making a daily planner with 365 pages, do NOT link every page manually. Create a “Master Slide” (or “Parent Page” in InDesign) with your navigation bar. Link the buttons on the Master Slide once. Then, apply that Master to all 365 pages. This saves you roughly 40 hours of work.
Phase 5: Installation
Once you have exported your PDF, getting it onto the device is simple.
- Open the reMarkable Desktop App on your computer.
- Drag your PDF file into the window.
- Wait for the sync.
- On your tablet, open the file. You can now write on it, and if you added links, tap them with your finger to navigate.
Bonus: The “Native Layer” Hack
If you are stubborn and absolutely want your design to appear in the “Grid/Lines” menu (Method B), be warned: This is advanced.
To do this, you cannot simply drag-and-drop. You must:
- Save your design as a PNG (not PDF).
- Download a third-party tool like RCU (reMarkable Connection Utility) or eInkPads Installer. These cost around $12-$20.
- Connect your tablet via USB.
- Use the software to “inject” the PNG into the device’s system folder.
- Restart the device.
The Risk: When reMarkable releases a software update (e.g., version 3.10), it often wipes the system folder to clean it. Your custom templates will disappear, and you will have to reinstall them using the utility again.
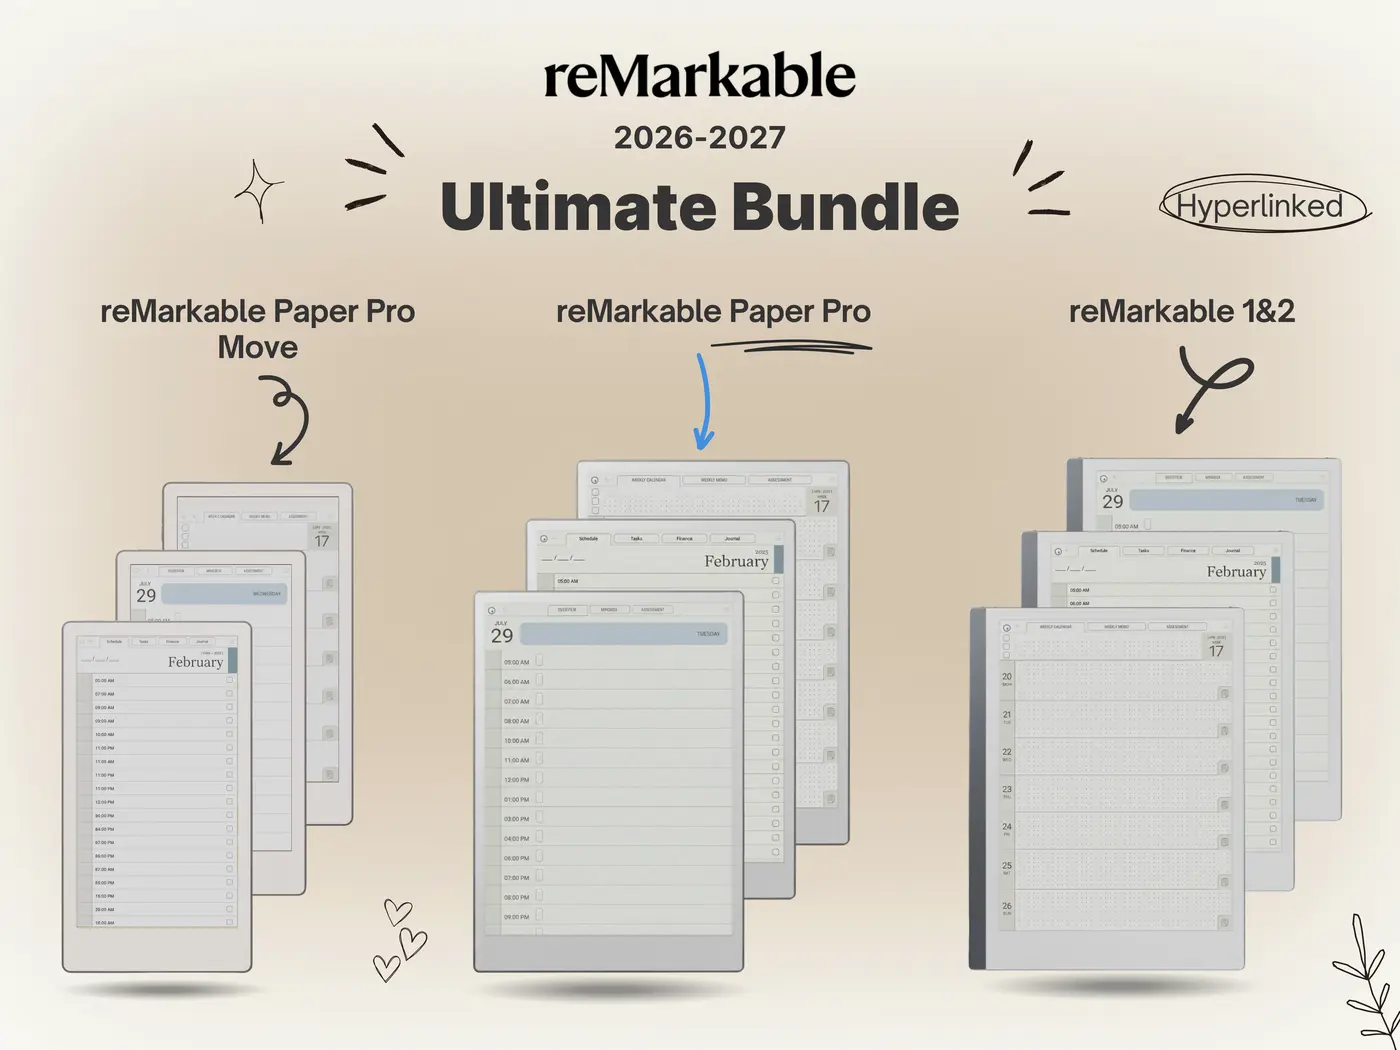
Skip the Design Phase?
Designing a fully linked planner takes 50+ hours. We have already done the work for you.
2 Responses