Ultimate Guides
The Ultimate Guide to reMarkable Templates (2026 Edition)
The hardware is perfect, but the software is a blank slate. When you unbox a reMarkable tablet, you are given a few basic options: lined paper, a grid, maybe a checklist. But for most professionals, these defaults aren’t enough. You need meeting logs, daily planners, Kanban boards, and sheet music. You need a better **remarkable template**.
However, the ecosystem is confusing. Are you supposed to install a “Layer”? Do you upload a PNG? Or is it a PDF? In 2026, the software has evolved significantly, especially with the launch of the Paper Pro. In this guide, we demystify the technology and show you exactly how to customize your device to fit your brain.

The Two Types of Templates
Before you download anything, you must understand the distinction that confuses 90% of users. There are two very different things that people call a **remarkable template**.
1. The Native Background (PNG)
These are the grids and lines that come pre-installed. They live on the “Background Layer.”
Pros: You can add pages infinitely, and the background repeats automatically.
Cons: Extremely difficult to add your own. Requires hacking the device.
2. The Document (PDF)
These are files you upload, like a digital planner. You write on top of them.
Pros: Easy to install (drag and drop). Supports hyperlinks (tap to jump to dates).
Cons: You cannot easily “add” a new page with the same design unless you duplicate the page manually.
For 99% of users, when you buy a “template” online, you are actually buying a PDF Document.
Method A: The “Native” Background (PNG)
Many users ask: “Why can’t I just add a custom image to the native template list?”
Officially, you can’t. reMarkable Support states that custom native templates are not supported. The device’s operating system stores these as PNG files in a hidden system folder.
The “Hack” Way:
Advanced users use third-party software like RCU (reMarkable Connection Utility) or SSH scripts to force their own PNG files into the system folder. While this works, it often breaks whenever reMarkable releases a software update, requiring you to reinstall everything. We generally recommend avoiding this unless you are comfortable with coding.
Method B: The “Document” (PDF)
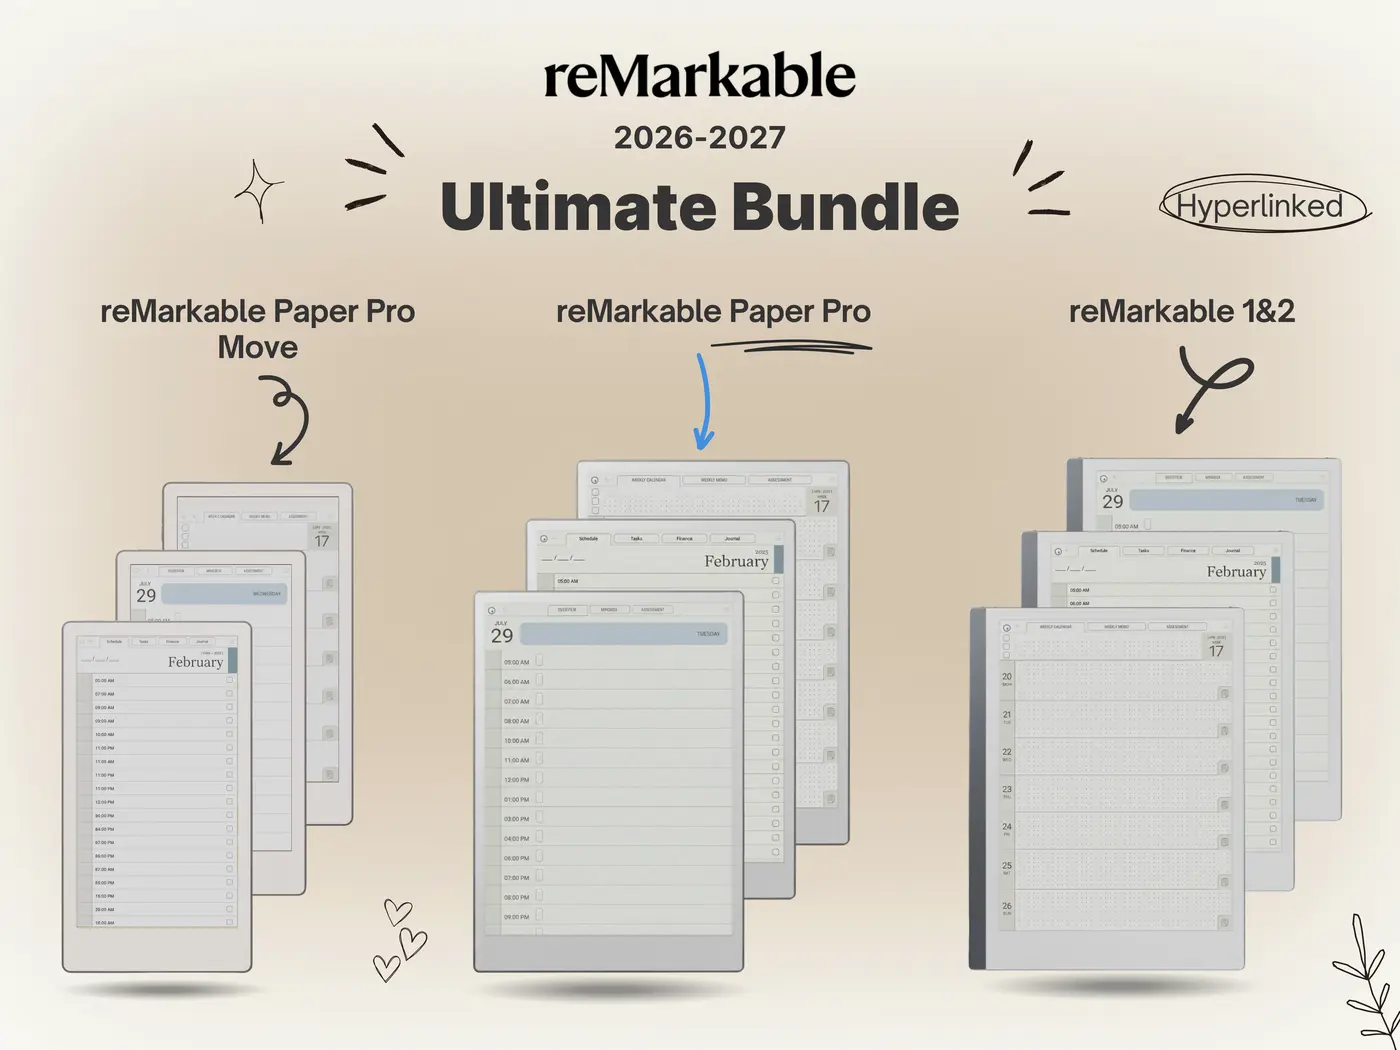
This is the industry standard. A PDF **remarkable template** is a file containing hundreds (or thousands) of pages that are already linked together.
How it works in 2026:
You upload a “2026 Planner.pdf” file. The file has tabs on the side for “January,” “February,” etc. When you tap a tab, the PDF jumps to that page. You write your notes on top. Because the links are embedded in the PDF, it feels like an app.
New software updates in 2026 (Version 3.10+) have made this even better. You can now add note pages inside PDFs, allowing you to insert a blank lined page right in the middle of your planner if you run out of space.
Resolution: rM2 vs Paper Pro
If you decide to make your own **remarkable template**, you must get the pixels right. Using the wrong resolution will result in blurry lines or awkward margins.
| Device | Resolution (Pixels) | DPI |
|---|---|---|
| reMarkable 2 | 1404 x 1872 | 226 DPI |
| reMarkable Paper Pro | 1620 x 2160 | 229 DPI |
Pro Tip: If you use Canva or Figma, set your canvas size to these exact dimensions. Do not use standard “A4” or “Letter” presets, as they often leave a weird white gap at the bottom of the screen.
How to Install Custom Files
Installing a PDF **remarkable template** is simple and requires no hacking.
- Download the File: Get your planner PDF from a store (like ours) or create one.
- Open the App: Open the reMarkable desktop or mobile app.
- Drag and Drop: Simply drag the PDF file into the app window.
- Sync: Wait a few seconds for the cloud to sync. The file will appear on your tablet under “My Files.”
Once it is on the device, you can long-press the file to “Duplicate” it. This way, you keep a clean master copy and use the duplicate for your actual writing.
The Best Layouts of 2026
What kind of **remarkable template** should you look for?
- The Cornell Layout: Perfect for students. It divides the page into a cue column, notes column, and summary row.
- The Eisenhower Matrix: A 2×2 grid for prioritizing tasks by “Urgent” and “Important.”
- The Meeting Log: Includes fields for Attendees, Date, Agenda, and Action Items. This is essential for corporate users.
- The Storyboard: A series of 16:9 boxes for filmmakers and UX designers to sketch wireframes.
For detailed examples of these layouts, check out our template gallery.
Stop Drawing Lines
Don’t waste time drawing your own grids every morning. Download our professionally designed bundle.
One Response